
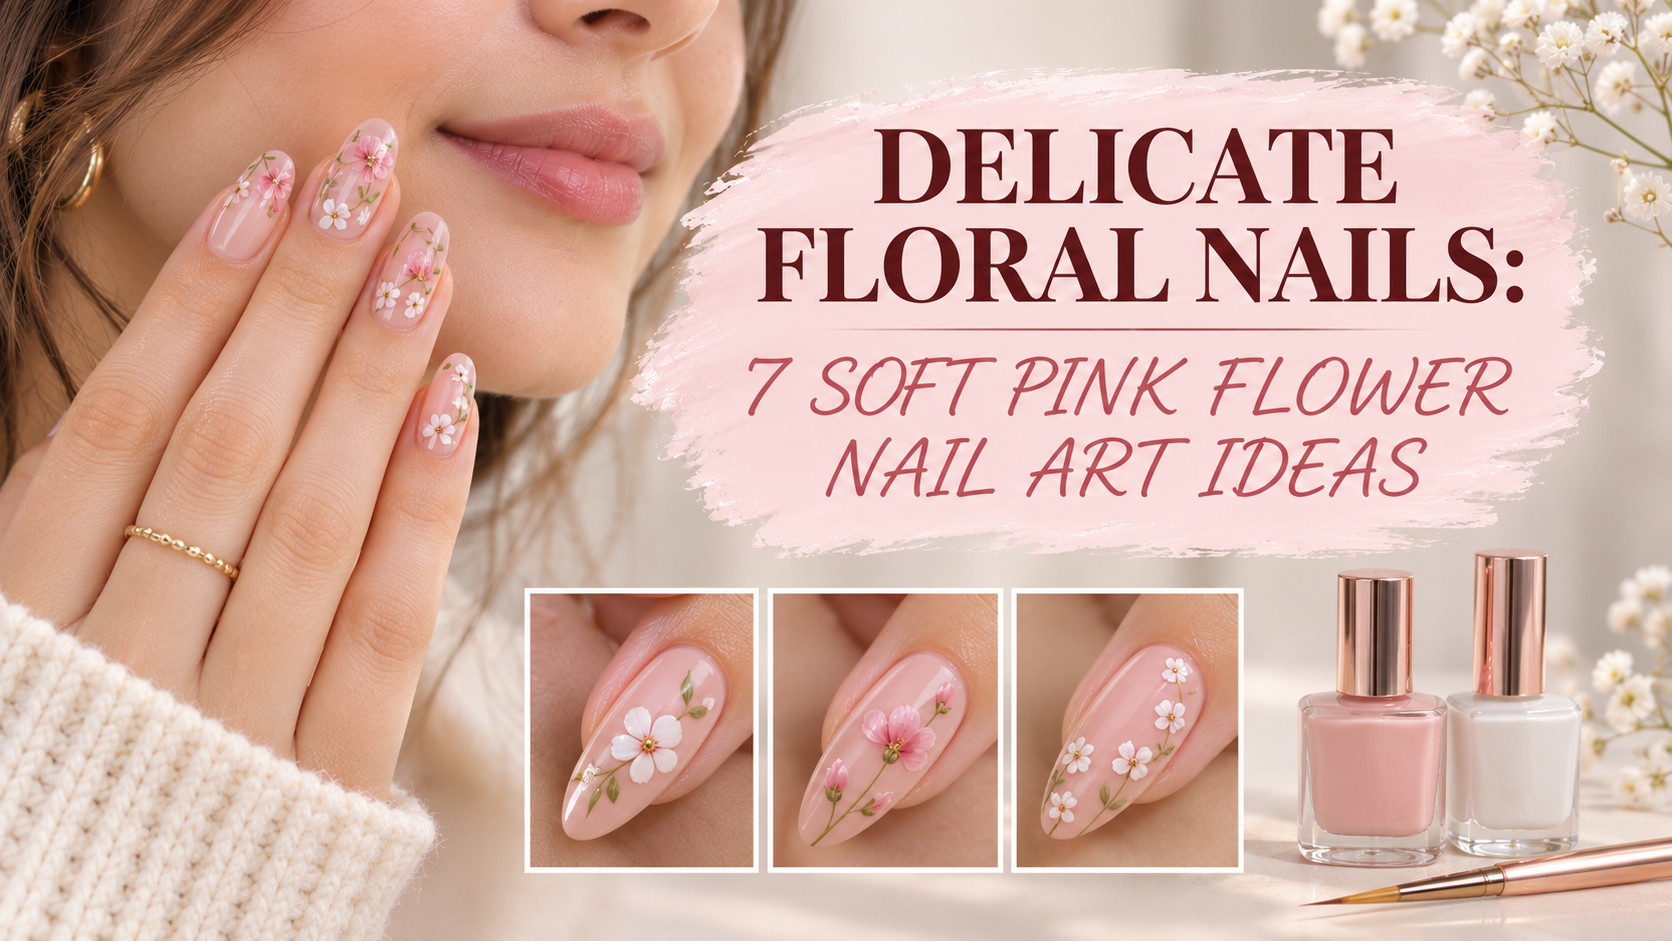
Tiny pink and white flowers on a sheer nude base, with a beginner-friendly how-to and tips for healthy nails.
Floral nails are a soft, romantic way to wear nail art. Tiny pink and white flowers on a sheer nude base look delicate and feminine without needing long, dramatic nails, and they suit spring, weddings, and everyday wear.
This guide shares seven floral nail ideas, from mini blossoms and floral French tips to pressed dried flowers, along with a beginner-friendly way to paint them at home and tips to keep your nails healthy. Every idea works on short or medium nails.
Table of Contents
What Are Floral Nails?
Floral nails are manicures decorated with small flower designs, usually painted with a dotting tool, a thin brush, or a nail art pen. The flowers can be hand-painted, applied as stickers, or made with real dried flowers sealed under top coat.
The delicate style uses a sheer or milky base so the flowers stay in focus. Keep the flowers small, use two or three colors, and leave plenty of empty space, and the manicure looks polished instead of busy.
Colors, Shapes, and Bases for Floral Nails
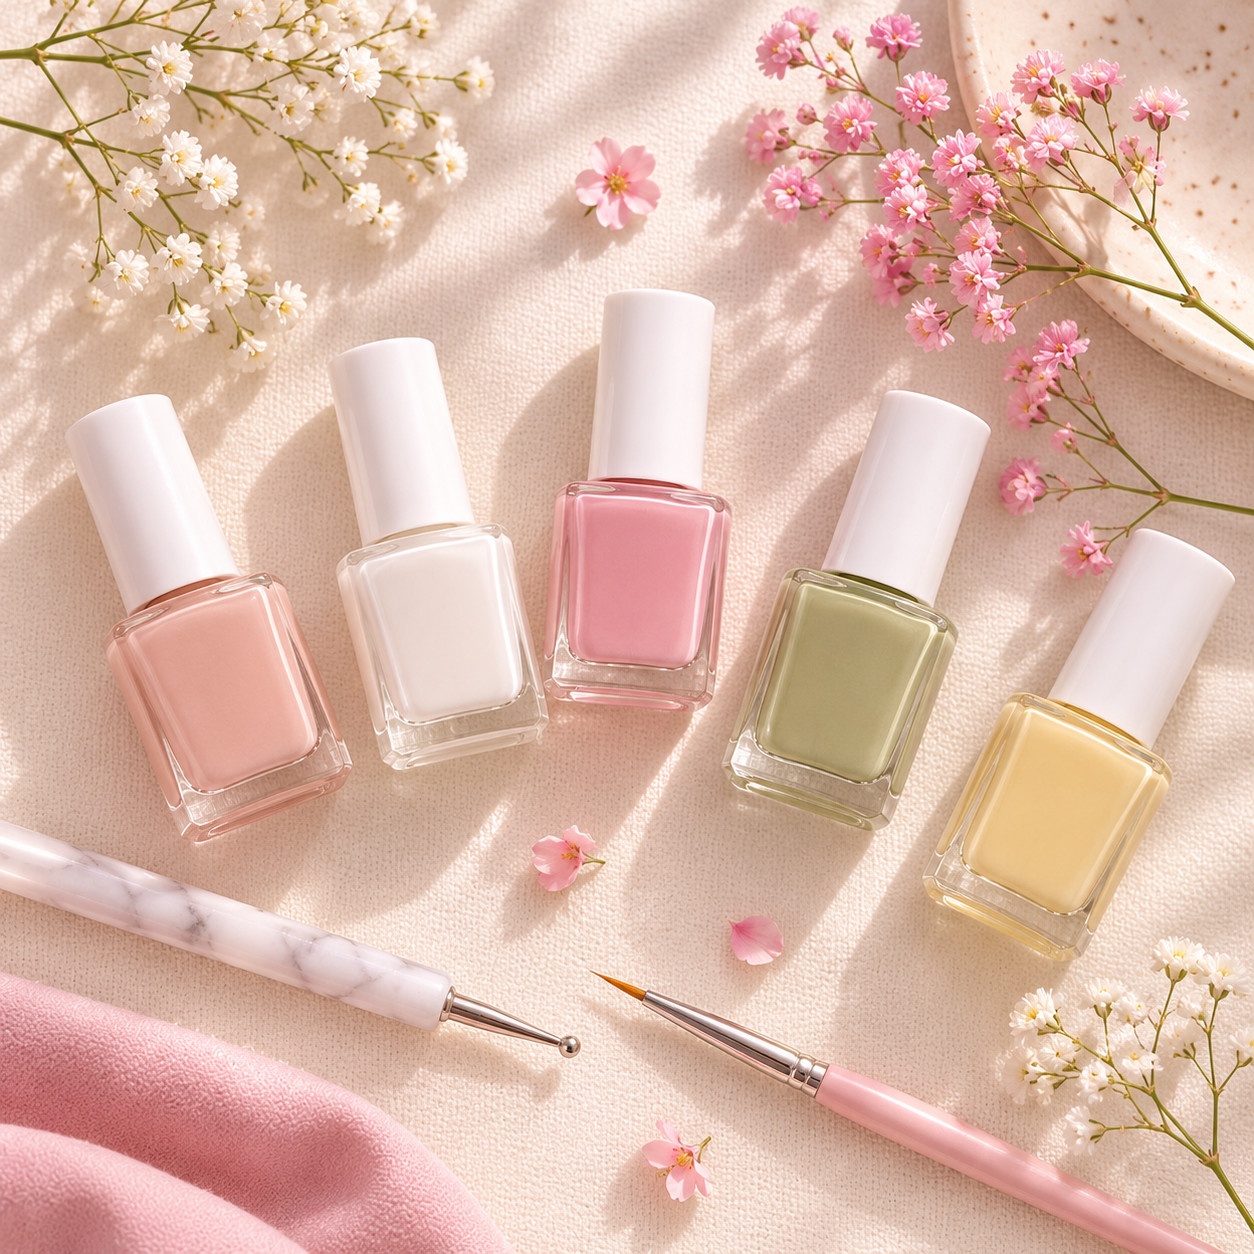
- Base: sheer nude pink, milky white, pale lilac, or soft peach.
- Flower colors: pink and white, with yellow or gold centers and tiny green leaves.
- Shape: almond and oval shapes show off the flowers, and a short squoval works well too.
- Finish: a glossy top coat for a fresh look, or a matte one for a softer, powdery effect.
1. Soft Pink Mini Flowers on a Nude Base
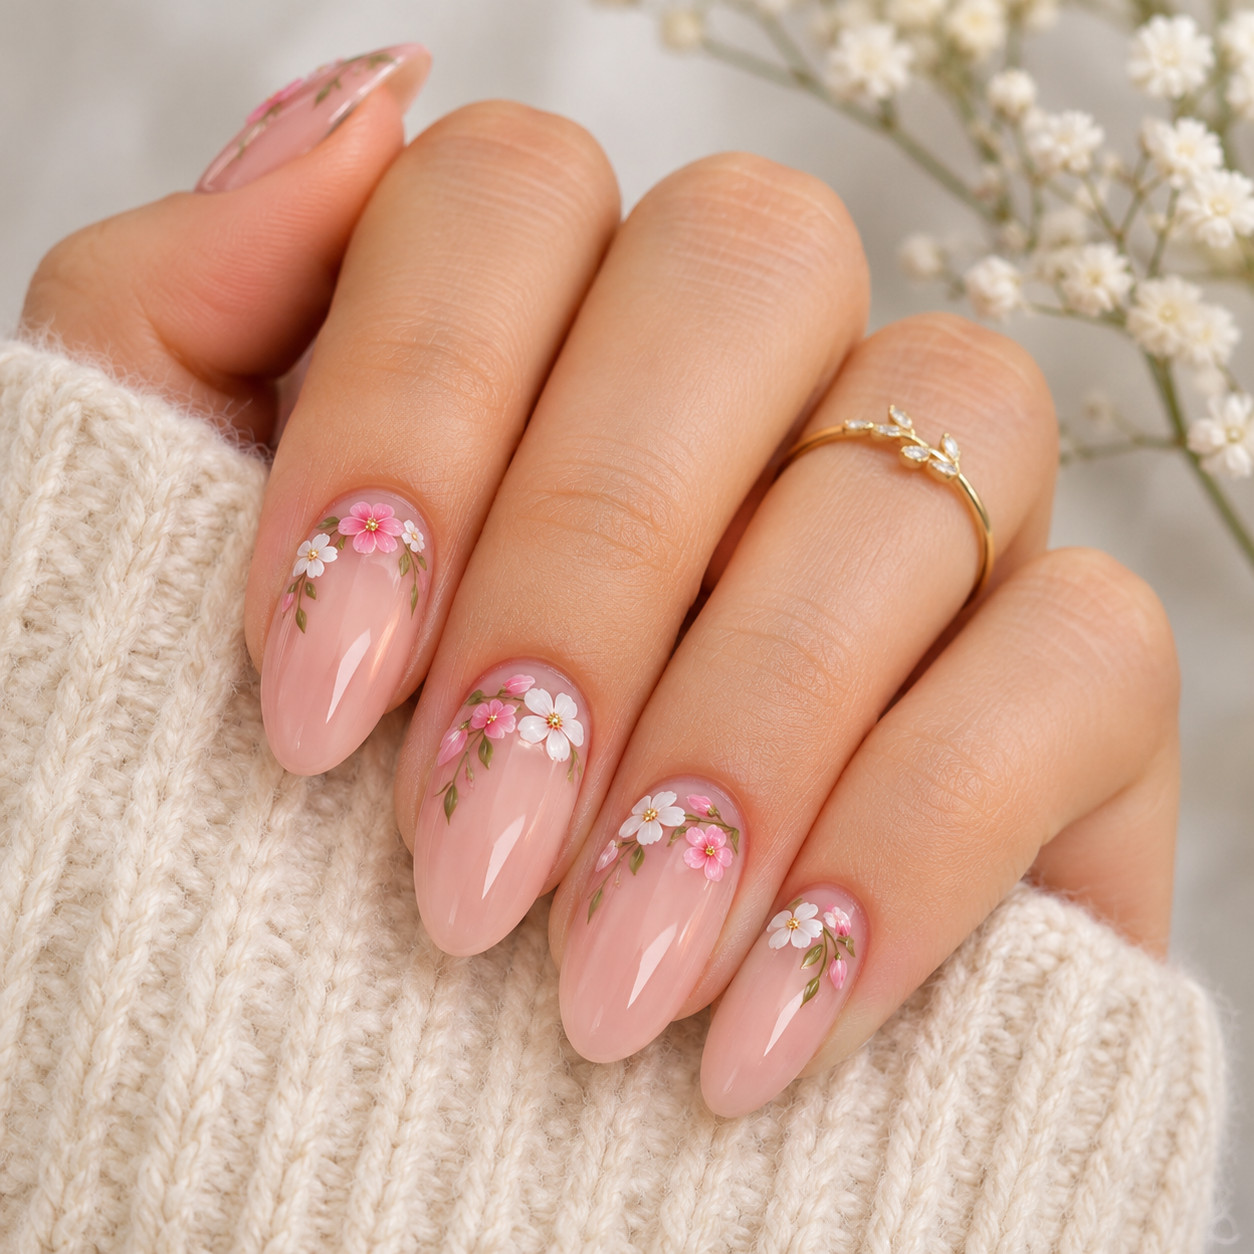
Paint tiny five-petal flowers in pink and white across the nail, mostly near the cuticle and one edge, and connect a few with thin green stems. A sheer nude-pink base keeps the whole design delicate.
Mix flower sizes and leave gaps so the design looks scattered, like a handful of blossoms. It suits almond nails especially well, and it looks lovely with a gold ring.
2. Cuticle Bloom Nails
Cluster the flowers at the base of the nail and let them fade out toward the tip, so the bloom seems to grow from the cuticle. Two or three flowers per nail are enough.
Keeping the design near the cuticle leaves the tip clear, which gives the manicure a clean, simple finish.
3. Floral French Tips
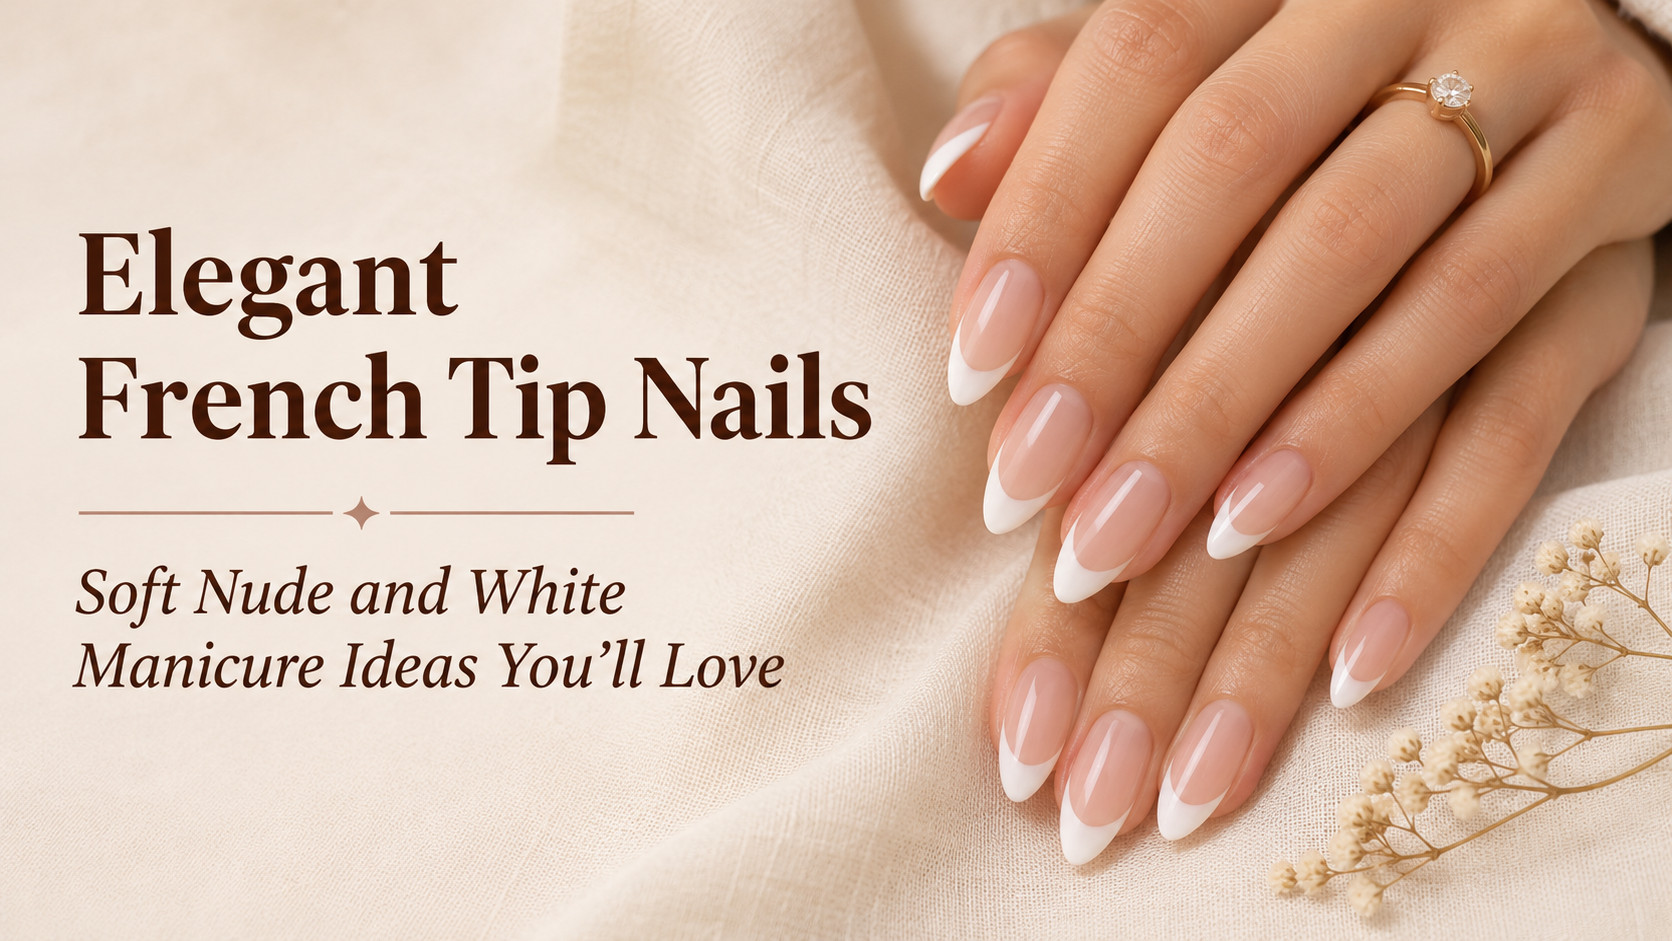
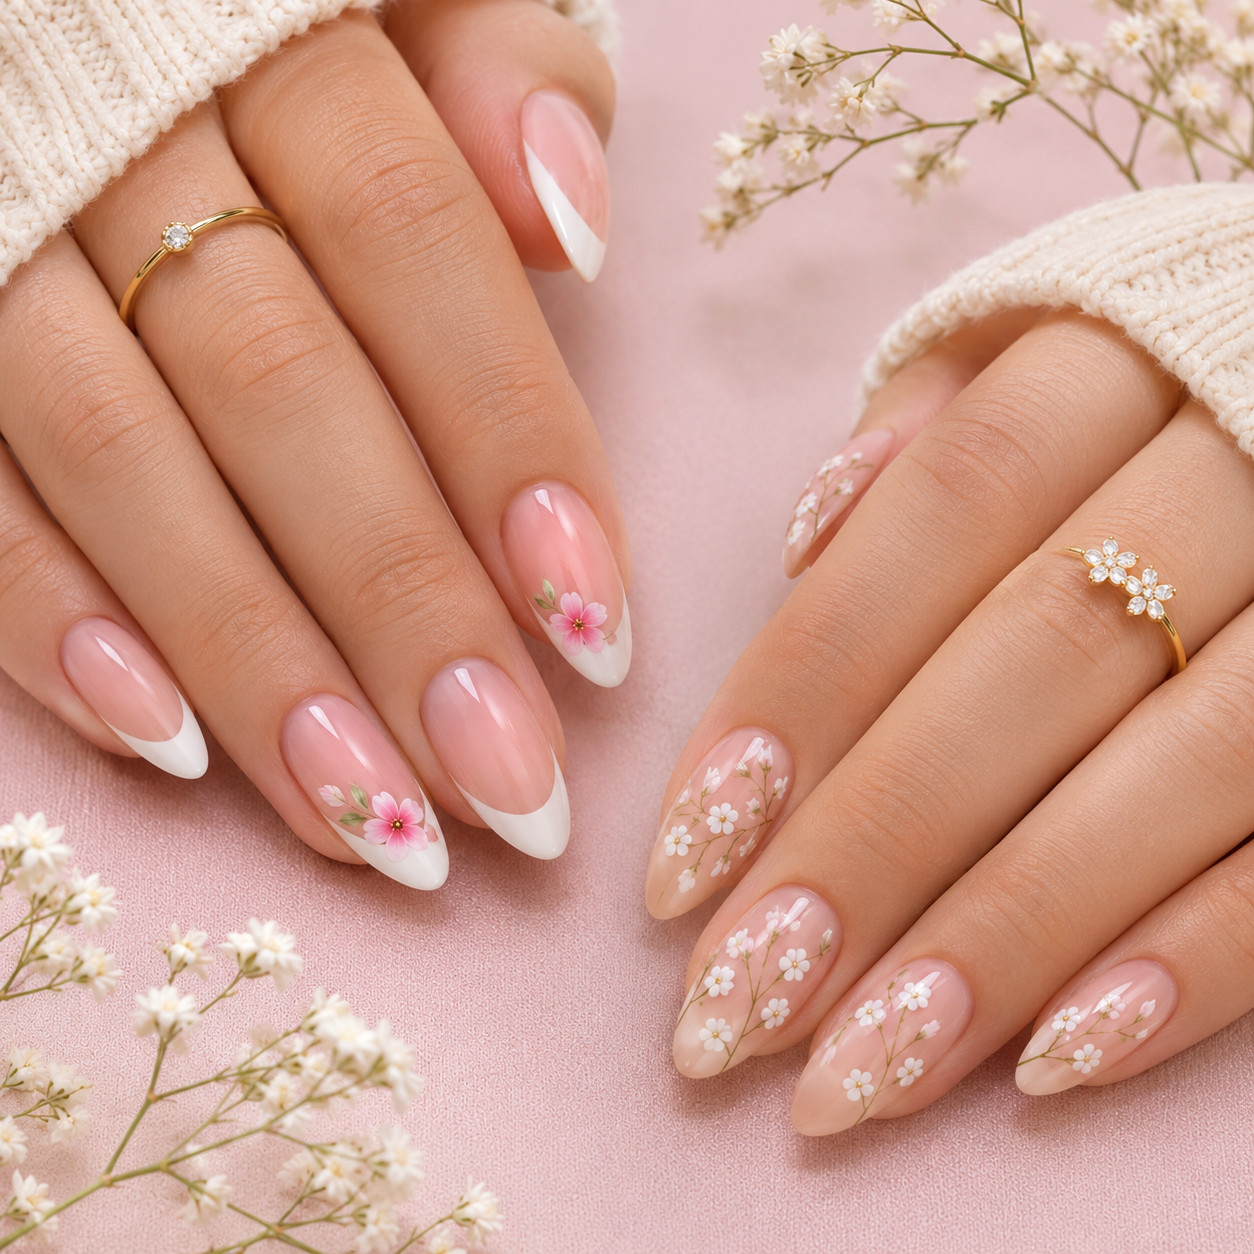
Start with classic white French tips on a sheer nude base, then add one tiny flower where the tip meets the nail, usually on one or two accent nails.
It is a good bridge between classic French tips and nail art. Our French tip nails guide covers tip width, shapes, and base shades.
4. Baby’s Breath Nails
Dot tiny white flowers with a very fine brush or toothpick on a sheer base, spacing them unevenly like baby’s breath stems.
Because the flowers are so small, this is one of the easiest floral looks for beginners, and it suits short nails.
5. Pressed Dried Flower Nails
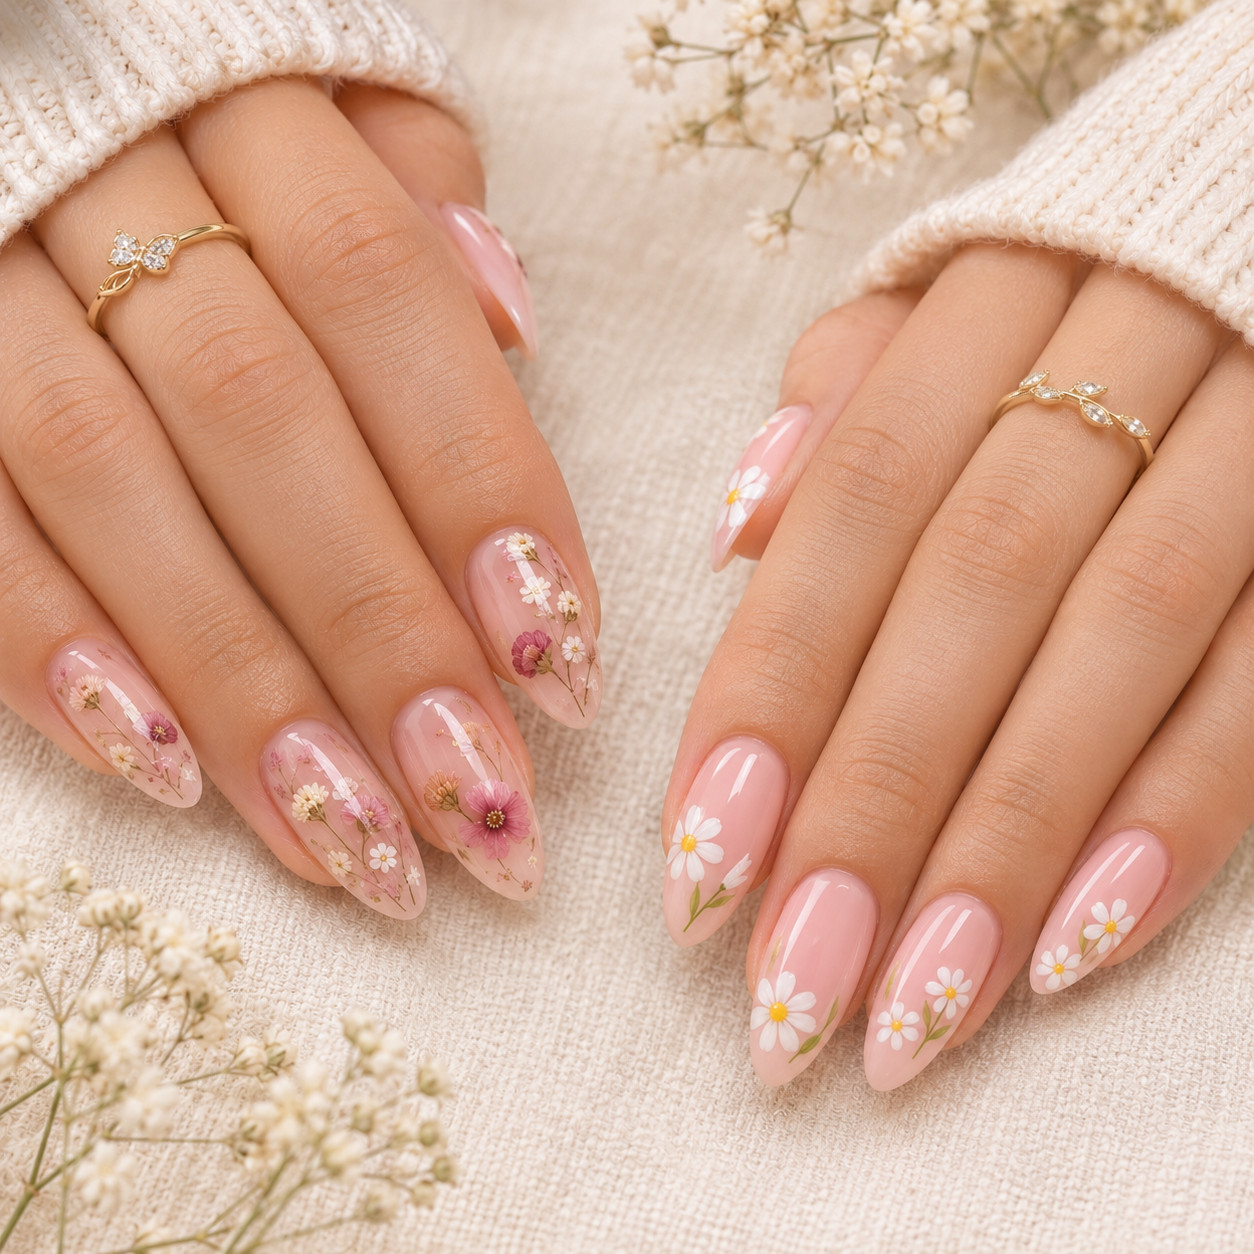
Tiny dried flowers are placed on a tacky layer of gel and sealed under top coat. They give the manicure depth and a real botanical look.
This style needs gel polish and a lamp, so follow the product’s curing directions and cover the flowers fully with top coat so no edge catches on clothing.
6. Pastel Daisy Nails
Paint white daisies with small yellow centers on pale pink or pale lilac nails. Use a dotting tool for the petals and place them one dot at a time.
Pastel daisies look fresh and playful, and they work well for spring and summer.
7. Bridal Floral Nails
Combine tiny white and pale pink flowers with one small pearl on the ring finger, on a milky or nude base. The soft colors photograph well and will not clash with a dress or bouquet.
It pairs nicely with a soft wedding look. See our bridal soft glam makeup guide for matching makeup.
How to Do Floral Nails at Home
You need a base coat, a sheer nude or milky polish, white and pink polish, a little yellow or gold for the centers, green for the leaves, a dotting tool or toothpick, a thin detail brush, and a top coat. Plan for 45 to 60 minutes including drying time.
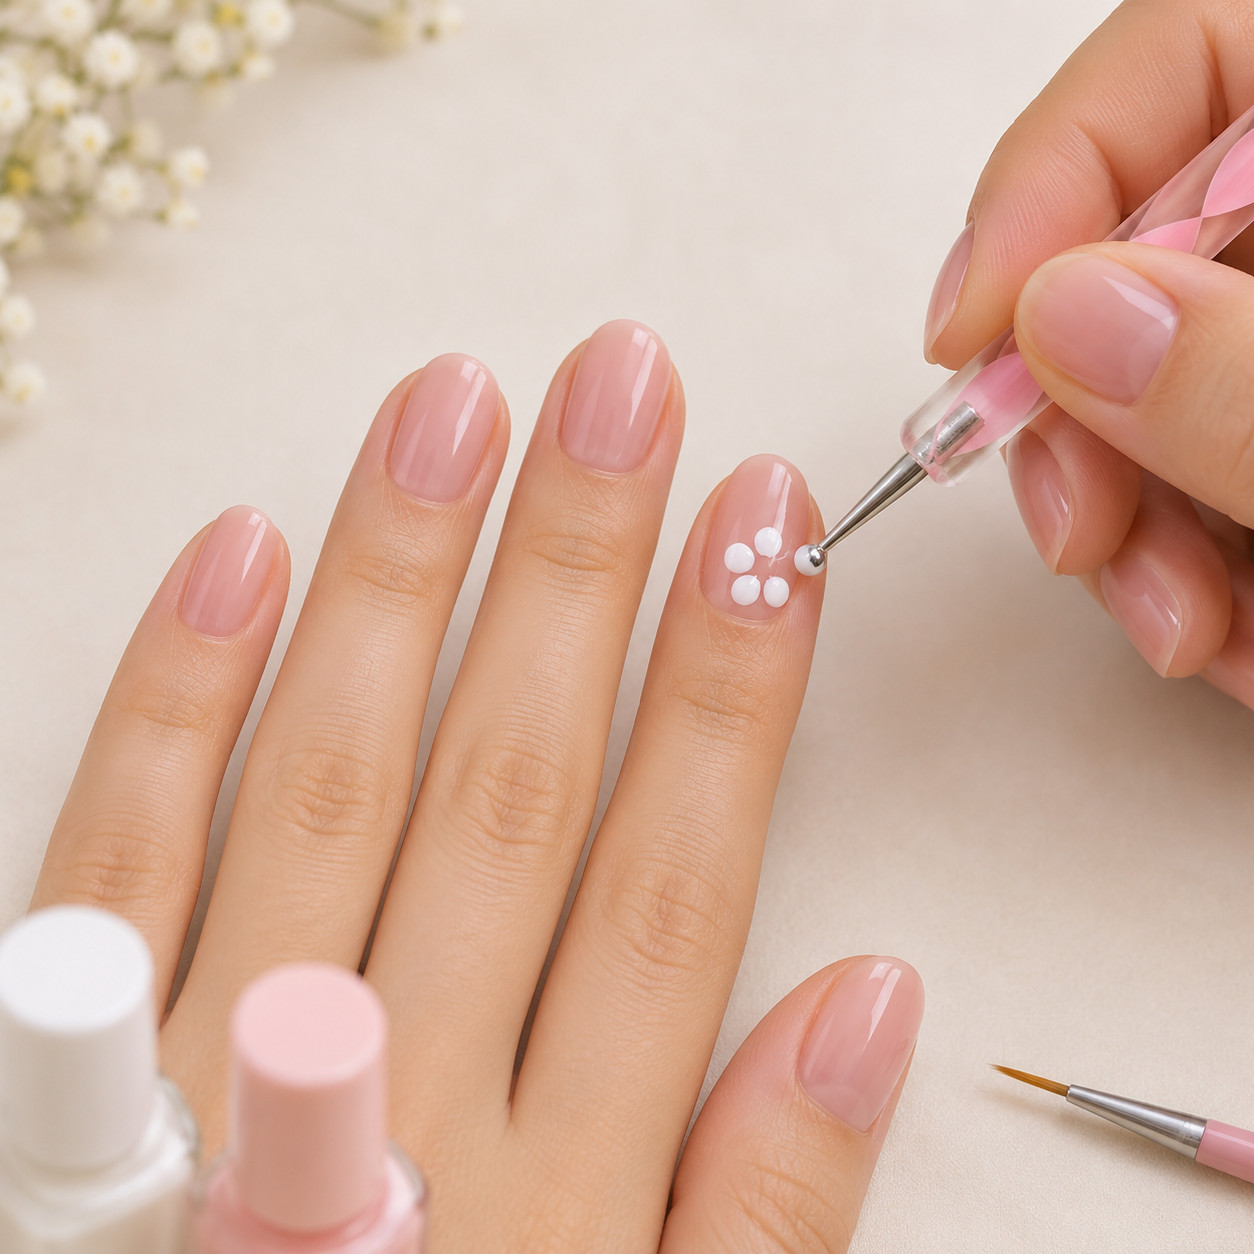
Practice the flower on paper or a spare nail tip first. A five-dot flower is easier than it looks: place five small dots in a circle, then one dot in the middle.
Step 1: Prep your nails
File and shape your nails, gently push back the cuticles without cutting them, and wipe each nail with remover so the surface is clean.
Step 2: Apply the base
Add a thin base coat, then one or two thin coats of sheer nude or milky pink. Let each coat dry before adding the next.
Step 3: Dot the petals
Dip the dotting tool in white or pink polish and place five small dots in a circle, just touching. Work on one nail at a time so the polish stays workable.
Step 4: Add the centers
Once the petals are dry to the touch, add a tiny dot of yellow, gold, or deeper pink in the middle of each flower.
Step 5: Draw stems and leaves
Use a thin brush with green polish to draw small curved stems and tiny leaf shapes between the flowers. Keep the lines light.
Step 6: Seal with top coat
Finish with a glossy top coat and run the brush along the free edge to cap the tip. Capping helps prevent chips.
Keep Your Nails Healthy
Nail art is easier on your nails when you give them breaks. The American Academy of Dermatology notes that gel manicures can cause brittleness, peeling, and cracking, so consider saving gel for special occasions or using regular polish if you have recurring nail problems.
Do not pick or peel gel polish. Soak only your fingertips in acetone to remove it, and moisturize your nails and cuticles often. If you notice unusual changes in your nails, see a board-certified dermatologist.
Tips to Make Floral Nails Last
- Use thin layers and let each one dry before the next, since thick dots take longer to dry and smudge.
- Cap the free edge with top coat to protect the tips.
- Wear gloves for dishes and cleaning.
- Apply cuticle oil daily to keep nails flexible.
- Add a fresh layer of top coat after a few days to keep the shine.
Common Floral Nail Mistakes to Avoid
- Painting flowers too large, which makes the design look busy.
- Using too many colors in one manicure.
- Placing thick dots of polish, which can smudge or peel.
- Skipping dry time between the petals and the centers.
- Forgetting the top coat.
Putting It Together
Floral nails work best when they stay small and soft. Choose a sheer base, two or three flower colors, and one or two accent nails, then add a glossy top coat for a finish that looks delicate and lasts.
If you want a cleaner nude look first, try our French tip nails, and for a polished wedding or party look, see our bridal soft glam makeup. You can save more nail art ideas on The Femme Studio’s Pinterest profile.
FAQs
What are floral nails?
Floral nails are manicures decorated with small flower designs, painted by hand, applied as stickers, or made with real dried flowers sealed under top coat.
What base color is best for floral nails?
A sheer nude pink or milky white base works best, because it keeps the focus on the flowers. Pale lilac and soft peach also look pretty.
Can I do floral nails on short nails?
Yes. Use very small flowers or baby’s breath dots, and keep the design to one or two nails if space is tight.
What tools do I need for flower nail art?
A dotting tool or toothpick, a thin detail brush, a few polish colors, and a top coat are enough to start.
How long do floral nails last?
Regular polish usually lasts about a week, depending on how you use your hands. Gel designs last longer, but give your nails breaks between gel manicures.
Are floral nails good for weddings?
Yes. Soft pink and white flowers on a nude base look elegant, suit most dresses, and photograph well.