
A step-by-step low bun tutorial with soft face framing strands, plus styling ideas for every hair type, length, and occasion.
A low bun hairstyle is one of the easiest ways to look put together in under ten minutes. It keeps your hair off your neck, works with almost any outfit, and looks elegant at the office, a dinner, or a wedding. Adding a few soft face framing strands makes the look feel relaxed and flattering instead of severe.
This guide walks you through a simple low bun step by step, then shares ideas for face framing strands, different bun styles, occasions, and hair types. If you are styling your hair for a big day, our bridal soft glam makeup guide pairs nicely with a low bun updo.
Table of Contents
What Is a Low Bun Hairstyle?
A low bun is an updo where the hair is gathered and twisted into a bun at the nape of the neck, instead of on the crown of the head. It is a classic shape that suits many face shapes, hair lengths, and outfits. It can be sleek and polished or soft and messy, depending on how you style it.
What You Need
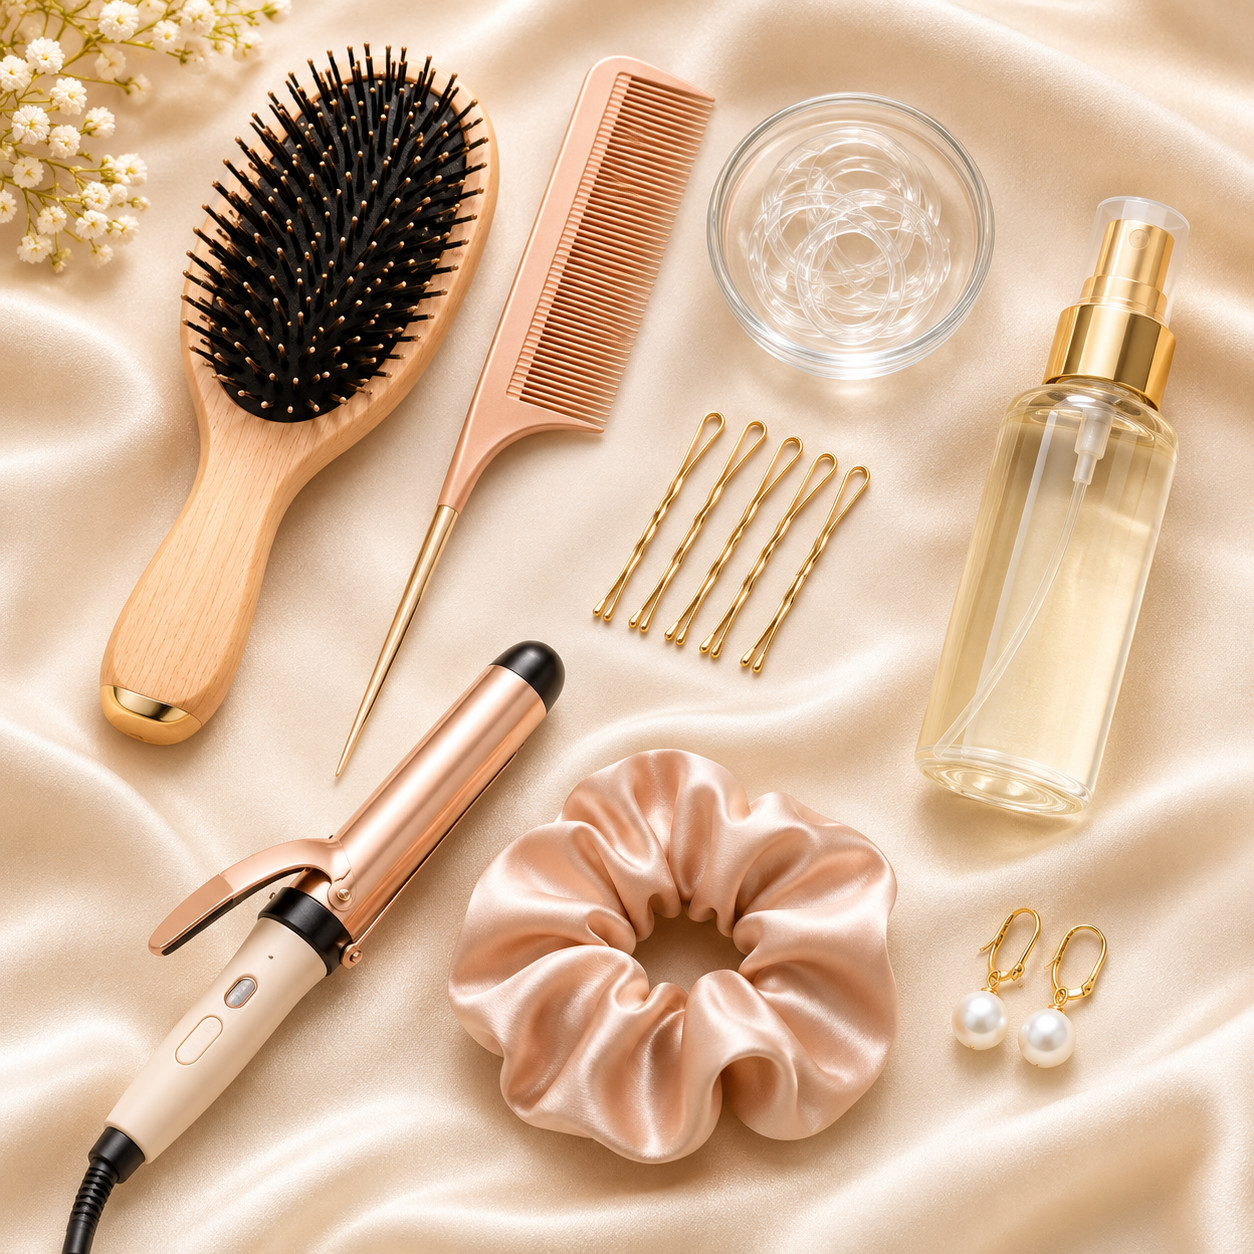
- A smooth brush or comb: to remove tangles and shape the ponytail.
- Clear or hair-matching elastics: one or two to hold the ponytail and the bun.
- Bobby pins: choose a color close to your hair so they blend in.
- Hair spray or a light styling cream: to tame flyaways and hold the shape.
- A curling iron or flat iron (optional): to curl the face framing strands.
- A hair clip or pearl pins (optional): for a finishing detail.
How to Make a Low Bun Step by Step
- Prep your hair. Start with dry or barely damp hair. If you want a sleek finish, apply a small amount of smoothing cream. If you want a softer, textured finish, use a light texture spray.
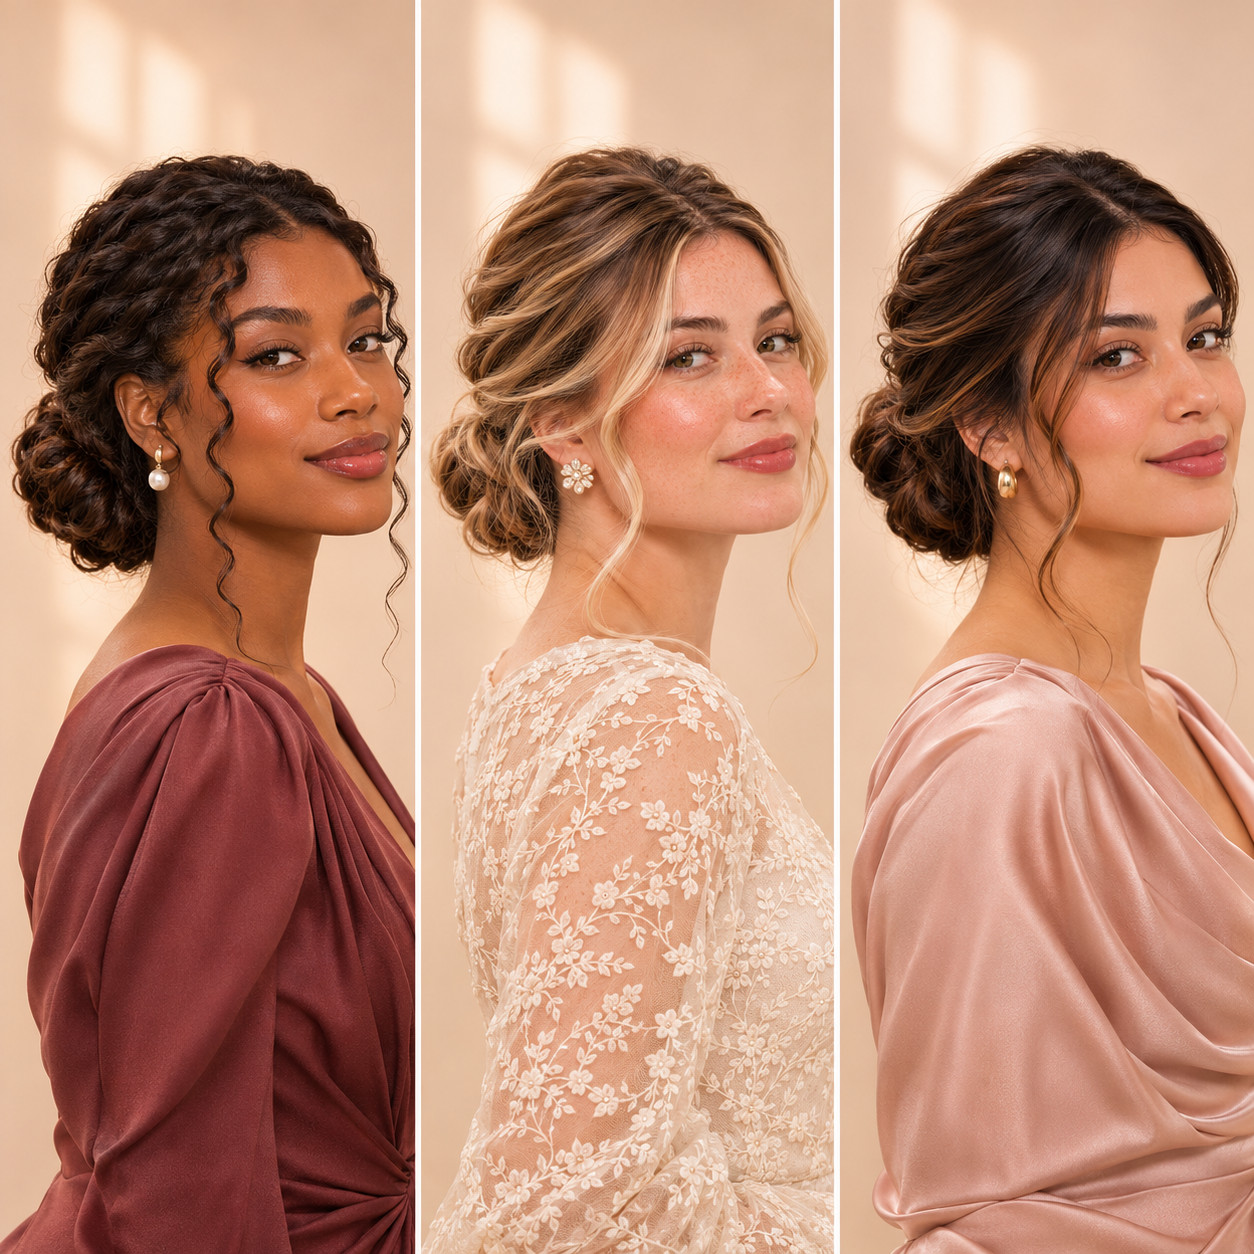
- Pull out your face framing strands. Leave out one thin section on each side at the front, near your temples. These are your face framing strands.
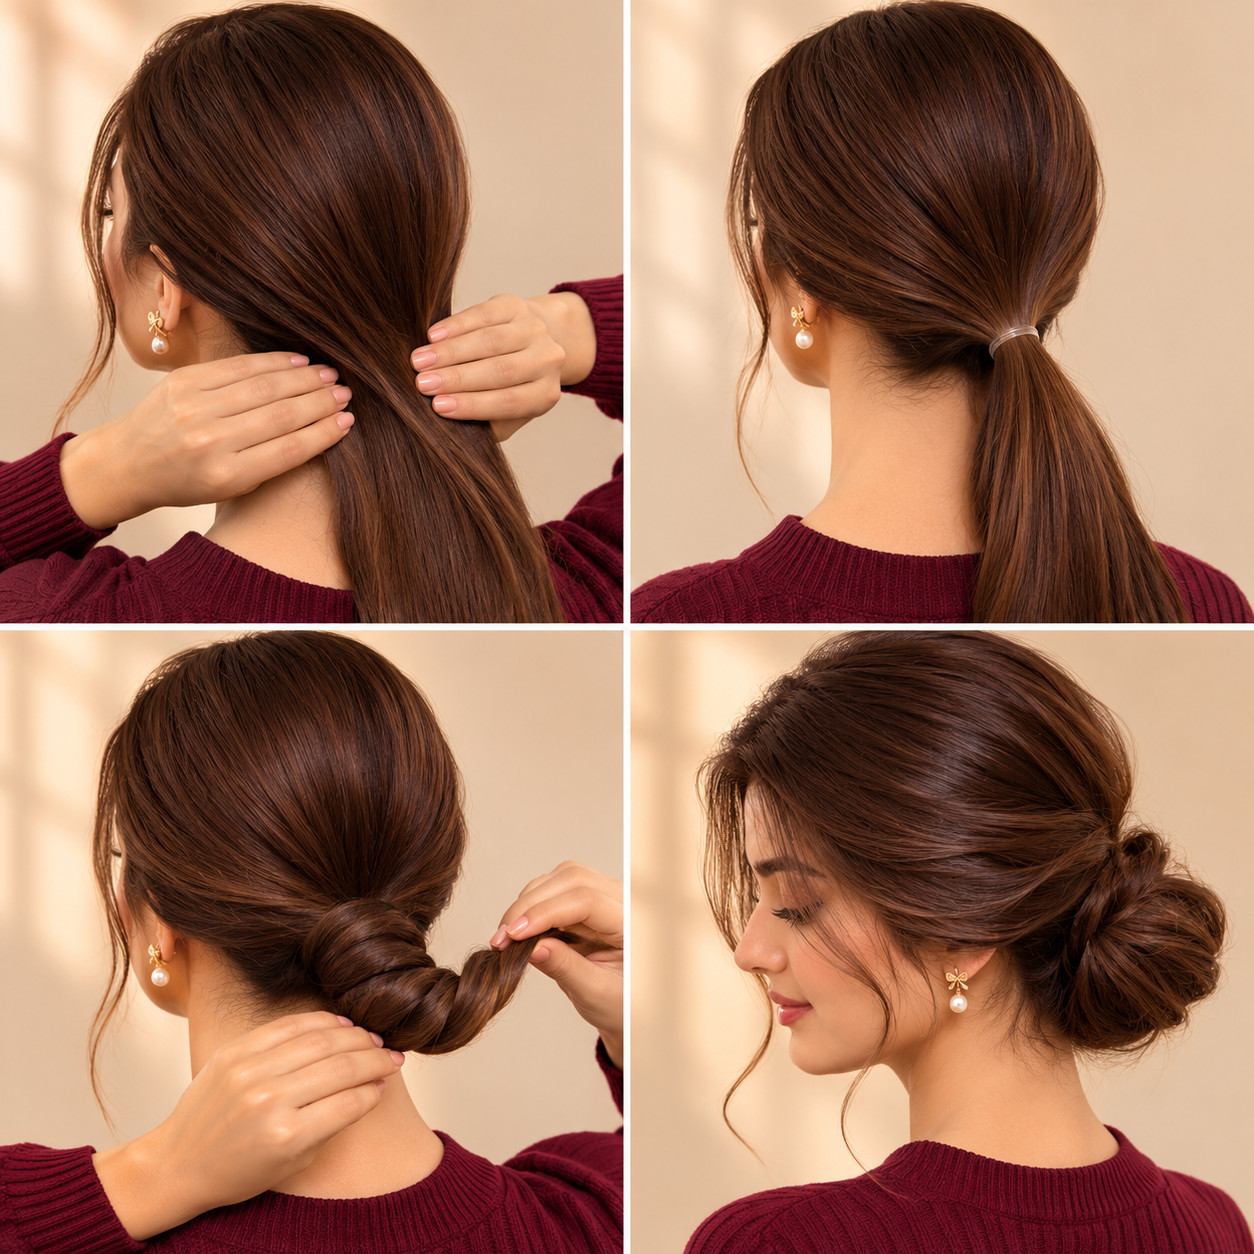
- Brush your hair back. Gather the rest of your hair at the nape of your neck and smooth it with a brush or comb.
- Tie a low ponytail. Secure it with an elastic at the center of the nape. For a polished look, wrap a small section of hair around the elastic and pin it.
- Twist the ponytail. Twist it into a rope, then wrap it around the base in a coil.
- Pin the bun. Tuck the end under and secure the bun with bobby pins on both sides. Pin from different angles for a firm hold.
- Style the face framing strands. Curl them away from your face with a curling iron or leave them straight and wispy.
- Finish. Mist a light layer of hair spray, smooth any flyaways, and check the bun from the side and back.
Face Framing Strand Ideas
Soft Curled Strands
Curl the strands away from your face with a small curling iron, then gently brush them out for a soft wave. This is a romantic, polished option that suits events and dinners.
Wispy Straight Strands
Leave the strands straight and slightly textured for a modern, effortless look. This works well for everyday wear and the office, and it needs very little styling.
Thin Braided Strands
Braid each strand loosely and tuck it behind your ear, or let it fall near the bun. This adds a boho detail and works well for outdoor events and festivals.
Low Bun Styles to Try
Sleek Low Bun
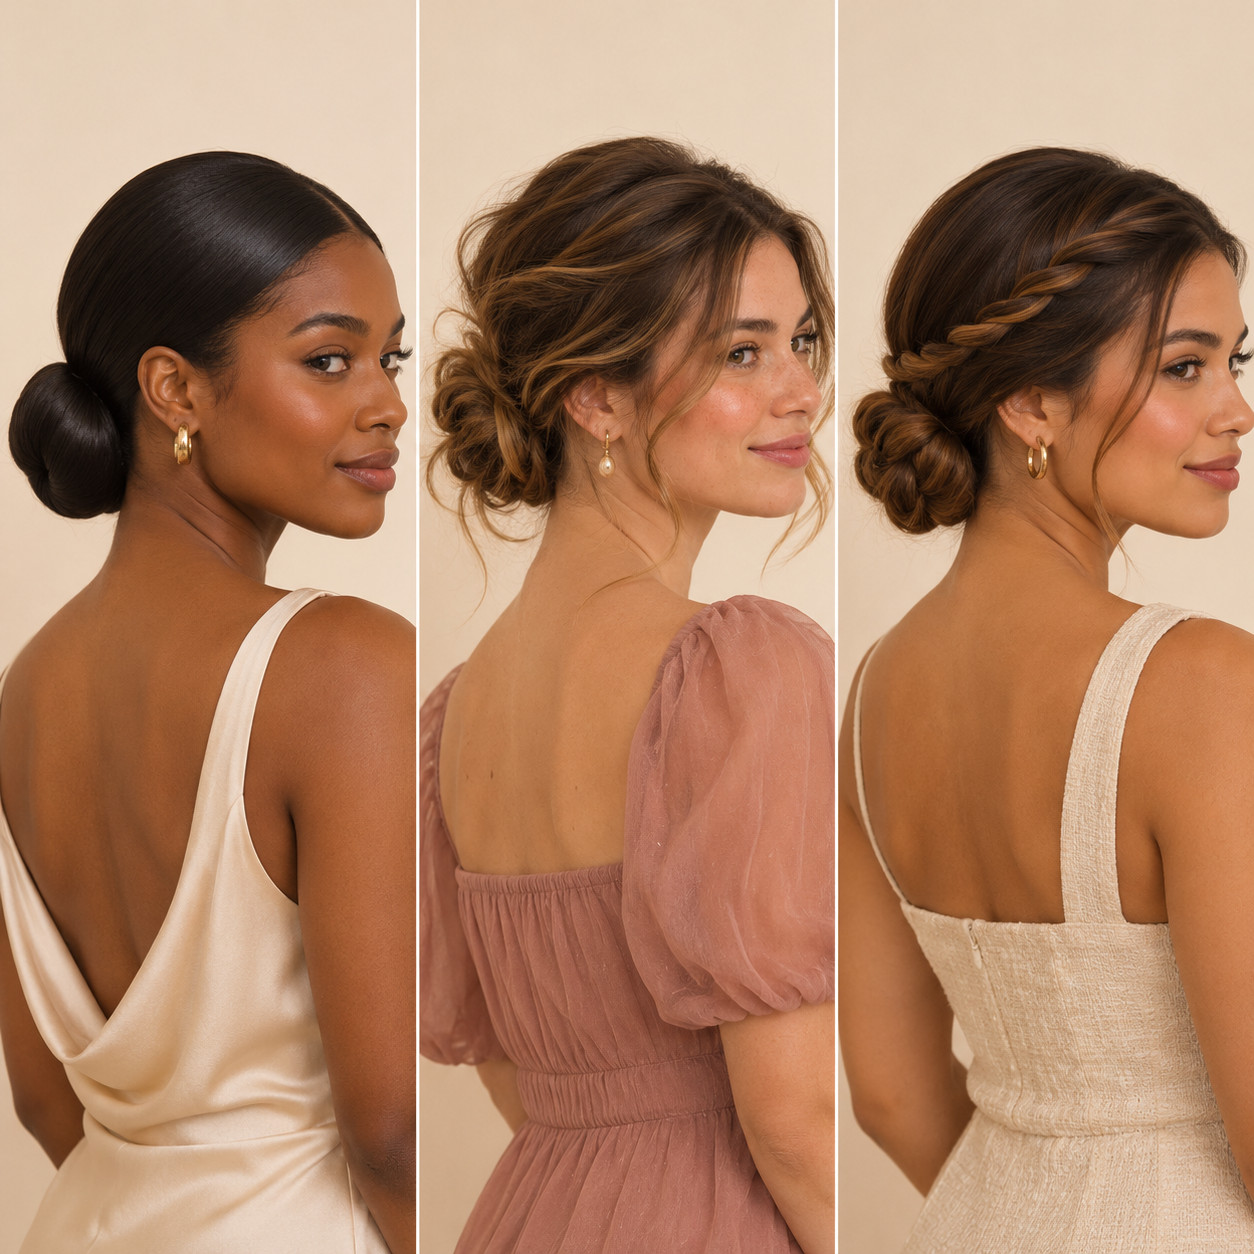
Brush hair back smoothly, use a styling cream, and pin the bun tightly for a clean, polished look. It suits formal events and work, and it looks especially neat with a center or side part.
Messy Low Bun
Skip the brush on the bun itself, pull the bun slightly looser, and leave a few strands out. This gives a relaxed, lived-in look that is easy to do and forgiving if your hair is not perfectly smooth.
Twisted Low Bun
Twist the ponytail into a rope before coiling it, or add a twisted section along the side for extra detail. It looks more intricate than it is and takes only a few extra minutes.
Low Bun Ideas for Every Occasion
Wedding Low Bun
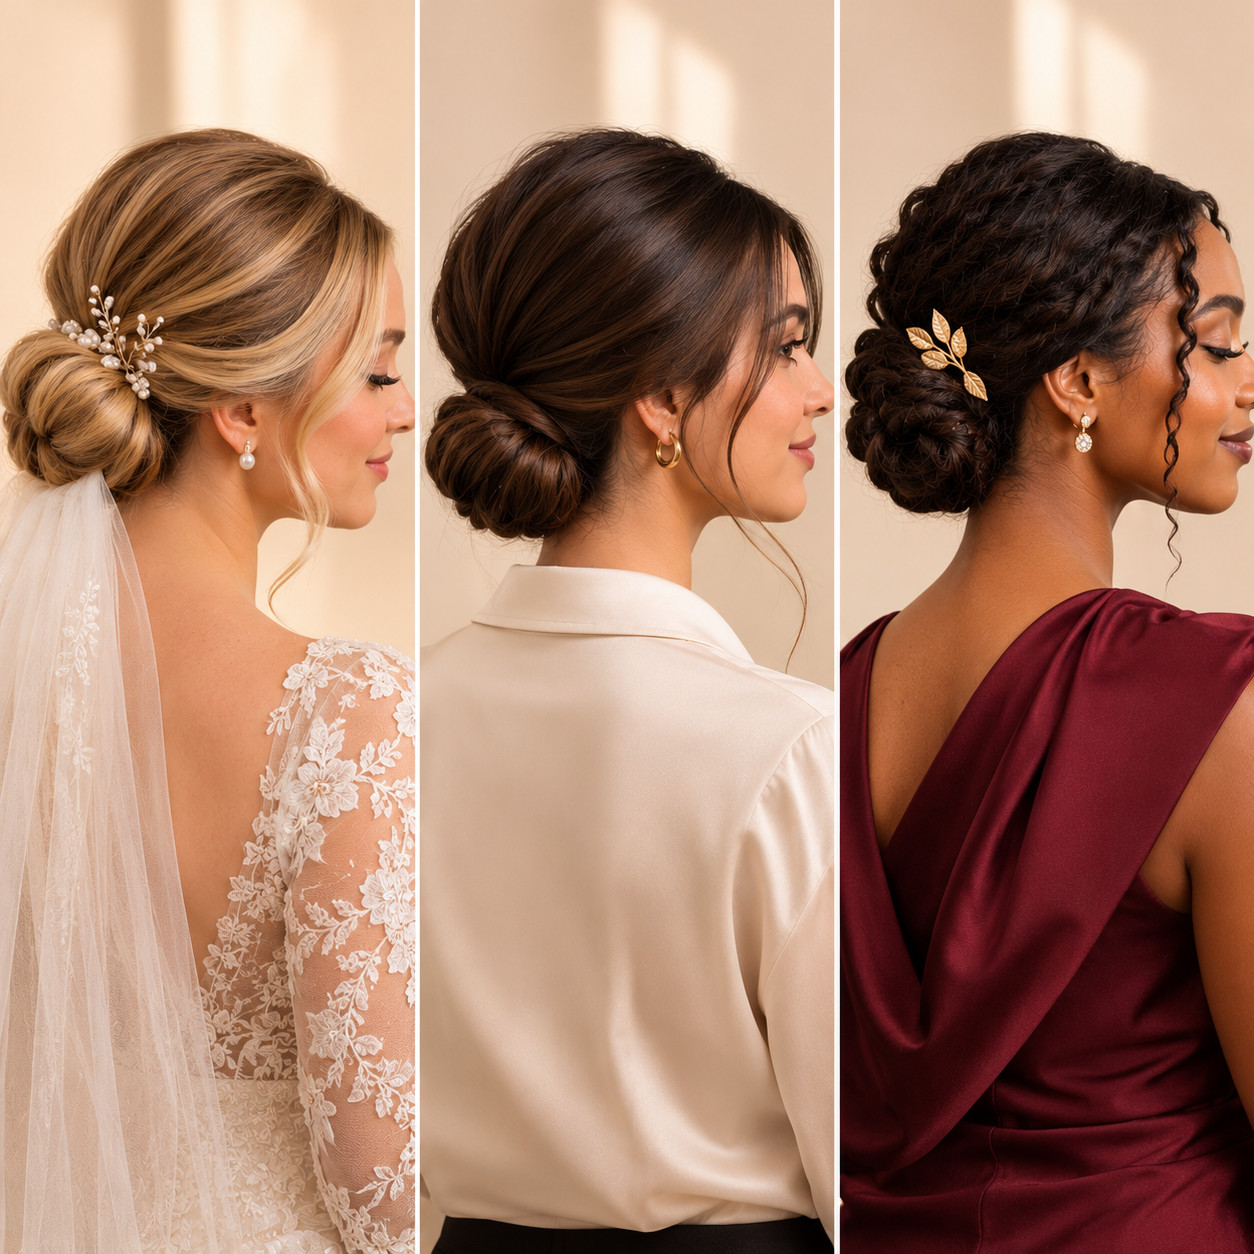
A low bun works well with a veil, since the veil can sit just above the bun. Add small pearl pins or a delicate hair vine, and keep soft face framing strands for a romantic finish. For a full wedding-day look, see our bridal soft glam makeup guide.
Office Low Bun
A neat low bun with a simple part and minimal flyaways looks professional and stays comfortable all day. Use a matte pin or a simple elastic so it stays discreet.
Evening Low Bun
Add a gold hair clip, a satin ribbon, or a few curled face framing strands for an evening look. A low bun also shows off earrings and a neckline, so pair it with a statement piece if you like.
Low Bun for Every Hair Type
Straight Hair
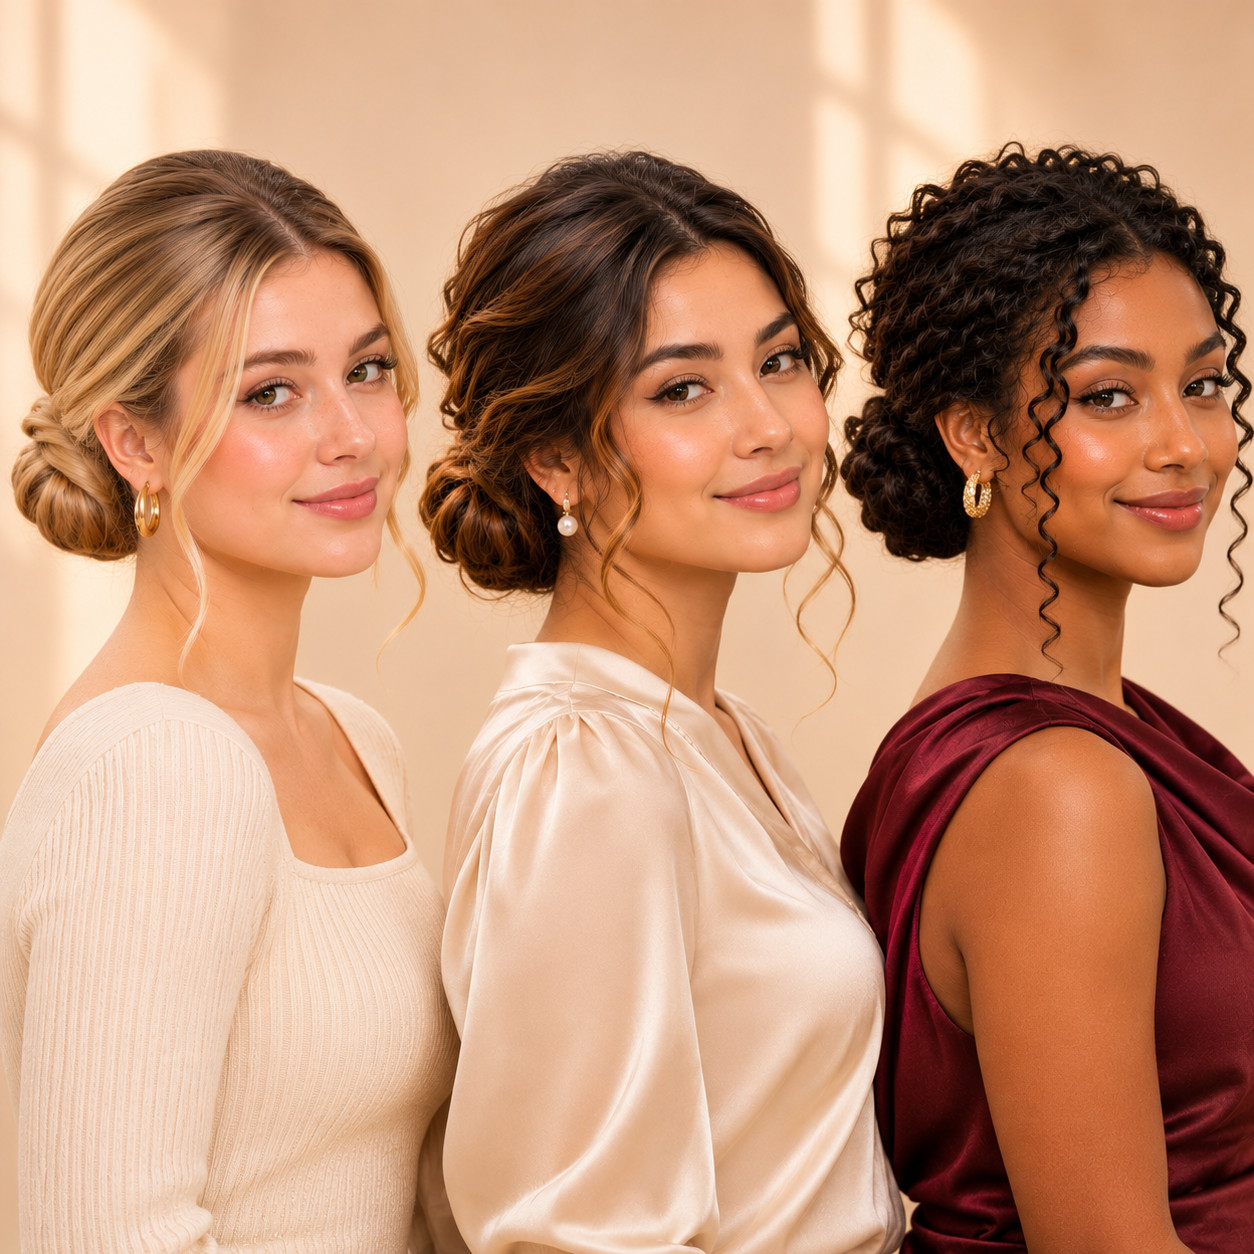
Straight hair can slip out of a bun, so add a light texture spray before you tie it, and use extra pins. A sleek finish looks especially crisp on straight hair.
Wavy Hair
Wavy hair holds a bun well and gives it natural volume. Use a light cream to control frizz, and let a few waves frame your face.
Curly Hair
Curly hair makes a full, textured bun. Use a moisturizing styling cream, gather gently to protect your curls, and leave a few loose curls at the front as your face framing strands.
Low Bun for Different Hair Lengths
| Hair length | What to expect | Tips |
|---|---|---|
| Shoulder length | A small, compact bun | Use a few extra pins and a small elastic. Leave some face framing strands out to hide short layers. |
| Medium length | A neat, medium bun | This is the easiest length to style. Twist and coil the ponytail, then pin it in place. |
| Long hair | A fuller, heavier bun | Divide the ponytail into two sections, wrap each one, and use more pins for support. |
Tips for a Neat, Long-Lasting Low Bun
- Add texture first. Very clean, slippery hair can slide out of a bun, so a light texture spray helps.
- Pin from different angles. Crossing pins hold the bun better than pins all going the same way.
- Keep the bun at the nape. A low placement is flattering and stays comfortable through the day.
- Curl strands before the bun. It is easier to style the front pieces before you pin everything up.
- Use a light finish. A small amount of hair spray keeps flyaways down without making hair stiff.
- Match your makeup. A low bun shows off your face, so a soft, fresh look works well. Our natural makeup look guide is a good match.
Common Low Bun Mistakes to Avoid
- Pulling the ponytail too tight, which can cause discomfort and tension.
- Skipping pins and relying only on the elastic, which can make the bun droop.
- Placing the bun too high or too low for your head shape.
- Leaving out too much hair at the front, which can make the bun look messy by accident.
- Using too much product, which can make hair look heavy or stiff.
Putting It Together
A low bun hairstyle is simple, elegant, and easy to adapt. Start with a smooth ponytail, coil it into a bun, and add soft face framing strands to finish the look.
You can save more hairstyle and beauty ideas on The Femme Studio’s Pinterest profile.
FAQs
How do I make a low bun look elegant?
Smooth the hair back, place the bun at the nape of the neck, pin it securely, and add soft face framing strands. A small accessory like pearl pins can add polish.
How do I do face framing strands with a bun?
Leave a thin section of hair out on each side before you tie the ponytail. Curl them away from your face or leave them straight and wispy.
Can I do a low bun on short hair?
Yes, if your hair reaches your shoulders you can make a small low bun. Use a small elastic and extra bobby pins to hold it in place.
How do I keep a low bun from falling out?
Add a little texture before styling, use an elastic and bobby pins at different angles, and finish with a light mist of hair spray.
Is a low bun good for a wedding?
Yes. It works well with a veil, looks elegant in photos, and is comfortable to wear all day. Add pins or a hair vine for a bridal detail.
How long does it take to make a low bun?
A simple low bun usually takes about five to ten minutes, depending on your hair length and how much styling you add.