
Eight simple steps, a short product list, and shade tips for a fresh, natural finish.
A natural makeup look evens out your skin, defines your features lightly, and leaves you looking like yourself with a little more polish. It is also one of the best looks to learn first, because every step builds on the one before it.
This beginner guide covers what to buy, eight steps in the right order, and the mistakes that make makeup look heavy. If you only have five minutes, our quick everyday makeup look routine is the shorter version of this guide.
Table of Contents
What Is a Natural Makeup Look?
A natural makeup look uses sheer layers to smooth the skin, add a little color, and define the eyes and brows without obvious eyeshadow or contour. People should notice good skin, not product.
It differs from a quick everyday routine because it includes soft eye makeup, a touch of warmth, and a setting step, so it lasts longer and photographs better. Expect about 10 to 12 minutes while you are learning, and less once the order feels familiar.
What You Need
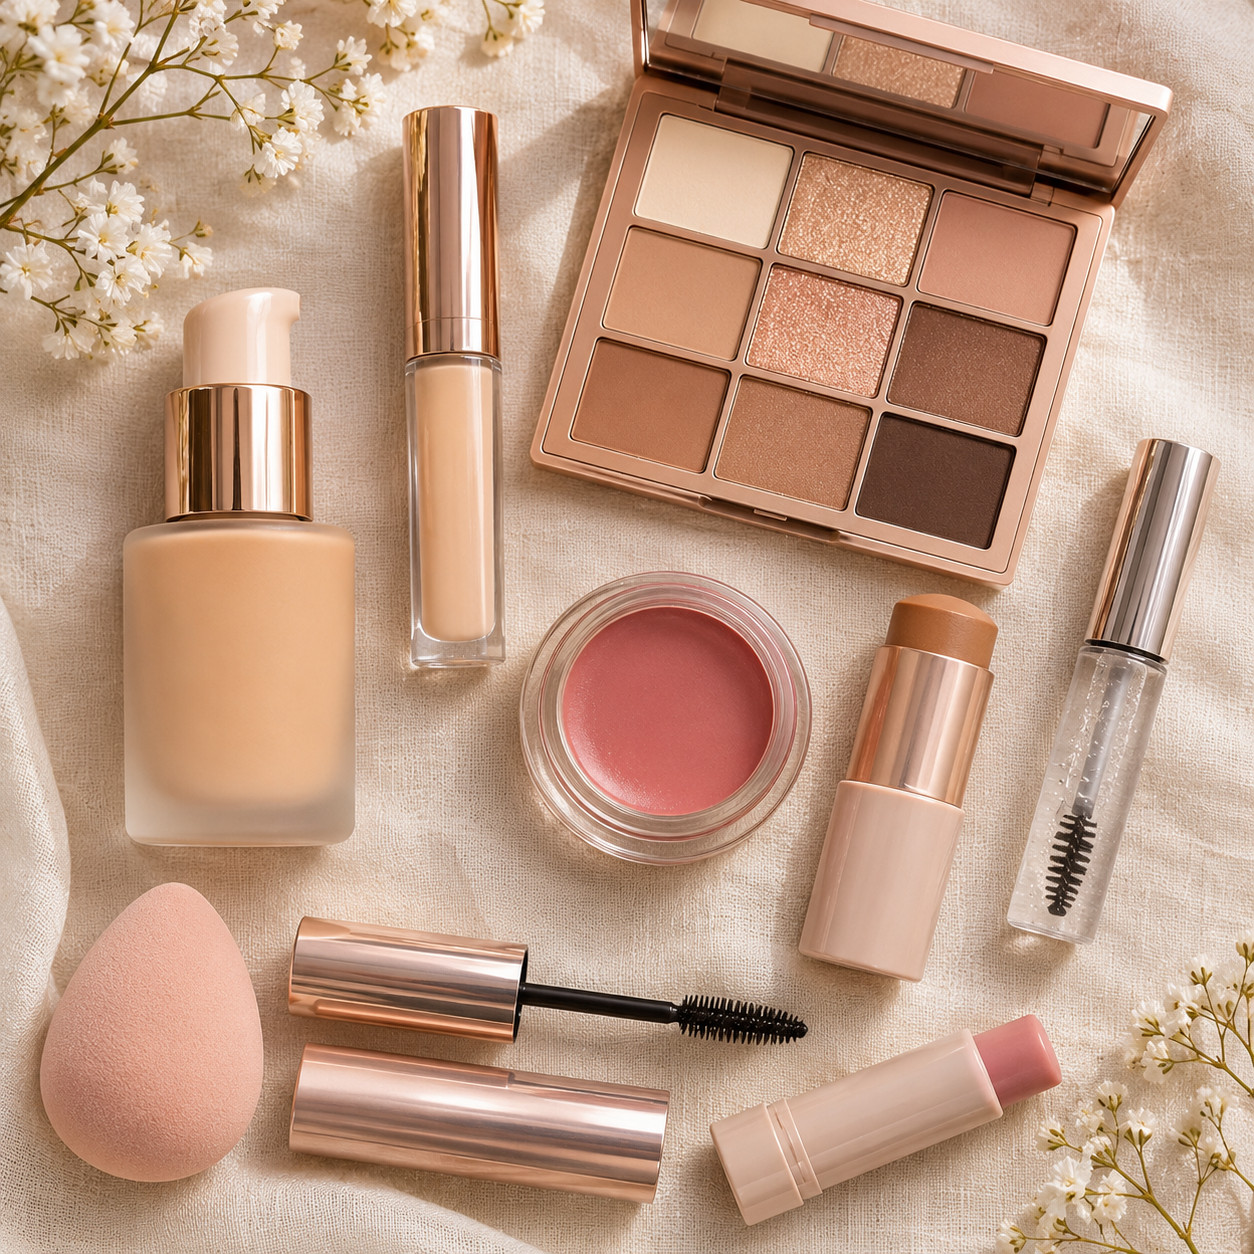
You do not need a large collection. Any similar product works, so begin with what you already own.
- Skin: moisturizer, sunscreen, a skin tint or light foundation, and a liquid concealer.
- Brows and eyes: a thin brow pencil or gel, a small neutral palette with a matte beige and a soft brown, and mascara.
- Cheeks and lips: a cream blush, a cream bronzer, a soft highlighter, and a nude tinted lip balm.
- Tools: a damp makeup sponge, a fluffy blending brush, and a setting spray.
1. Prep Your Skin
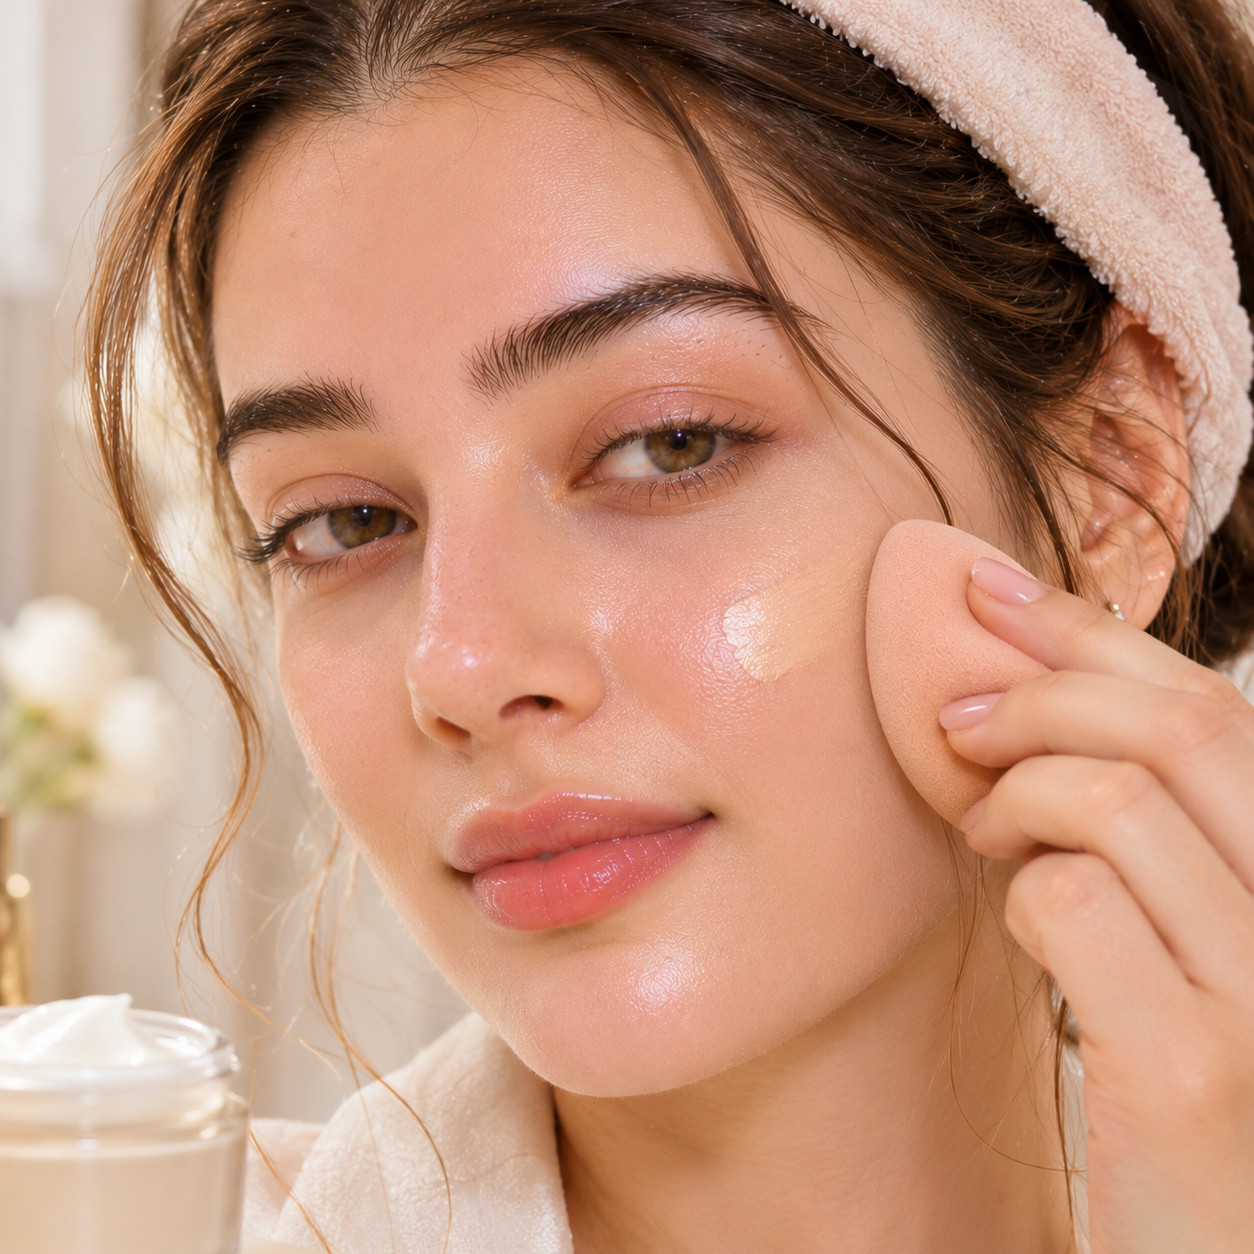
Wash your face, then apply moisturizer and sunscreen. Wait a minute or two before makeup so the layers settle instead of sliding around.
Healthy, hydrated skin is the base of a natural makeup look, and sunscreen is worth doing even on days you skip everything else. Dry lips can wait for balm at the end.
2. Apply a Sheer Base
Dot a small amount of skin tint on the center of your face and press it outward with a damp sponge. Pressing blends the product into the skin, while dragging can leave streaks.
Use less than you think you need. You can add a second thin layer on areas that need more coverage, such as around the nose or chin.
3. Conceal and Set Lightly
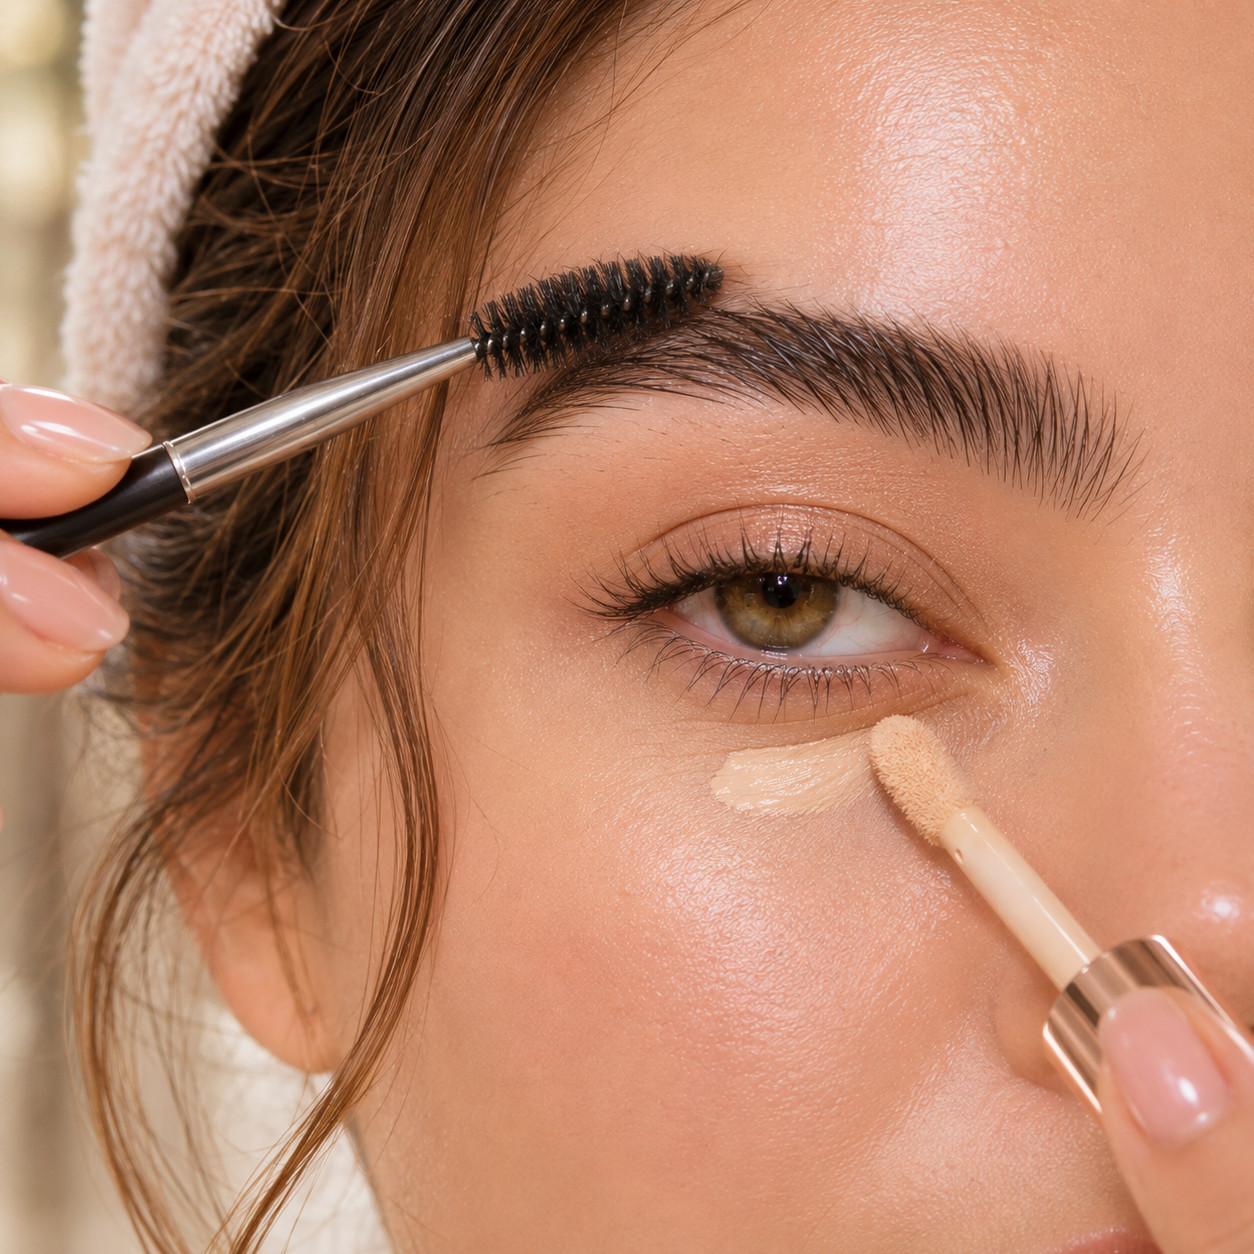
Tap concealer at the inner corners of your eyes, beside the nose, and over any marks. A shade slightly lighter than your skin brightens the under-eye area, while spots need a shade that matches your skin.
If you tend to get shiny, dust a little translucent powder on your T-zone only. Skip powder on the cheeks so the skin keeps a natural finish.
4. Define Your Brows
Brush your brows upward, then fill any sparse spots with short, hair-like strokes using a thin pencil. Start lightly at the front of the brow and add more toward the tail.
Finish with a clear or lightly tinted gel to hold the shape. Neat brows make the rest of your makeup look more deliberate.
5. Add Neutral Eyeshadow and Mascara
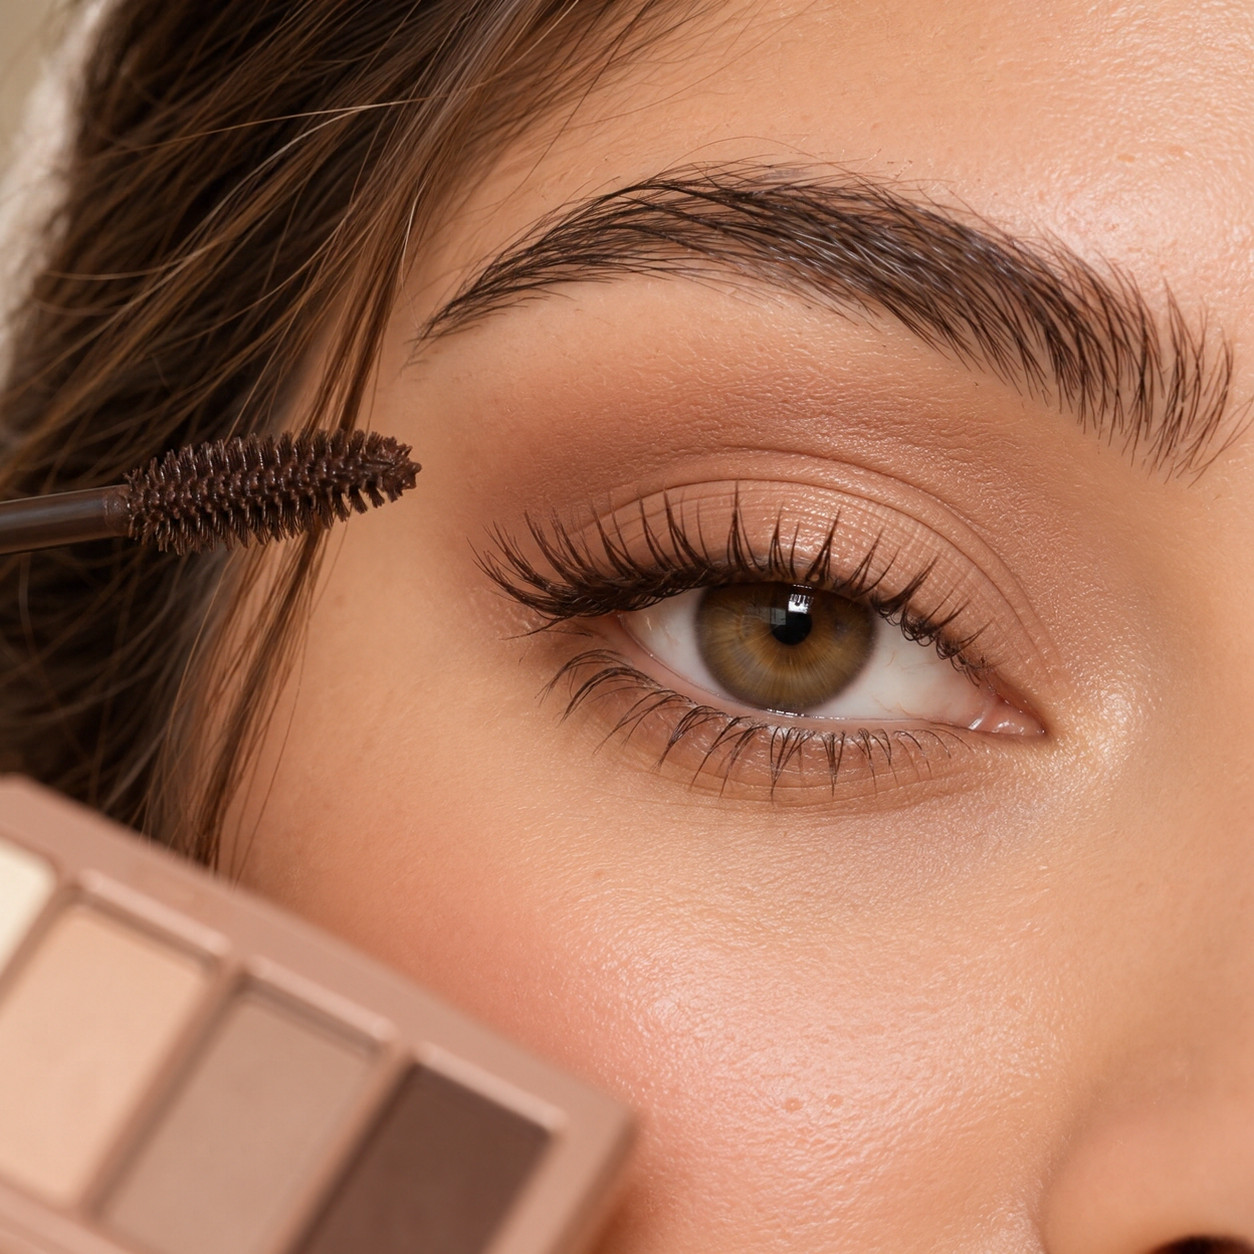
Sweep a matte beige across the whole lid, then blend a soft brown into the crease with a fluffy brush. Keep the pressure light and blend until no edge is visible.
Curl your lashes and apply one coat of mascara. Brown mascara looks softer than black, and black gives more definition if you prefer it.
6. Add Cream Blush
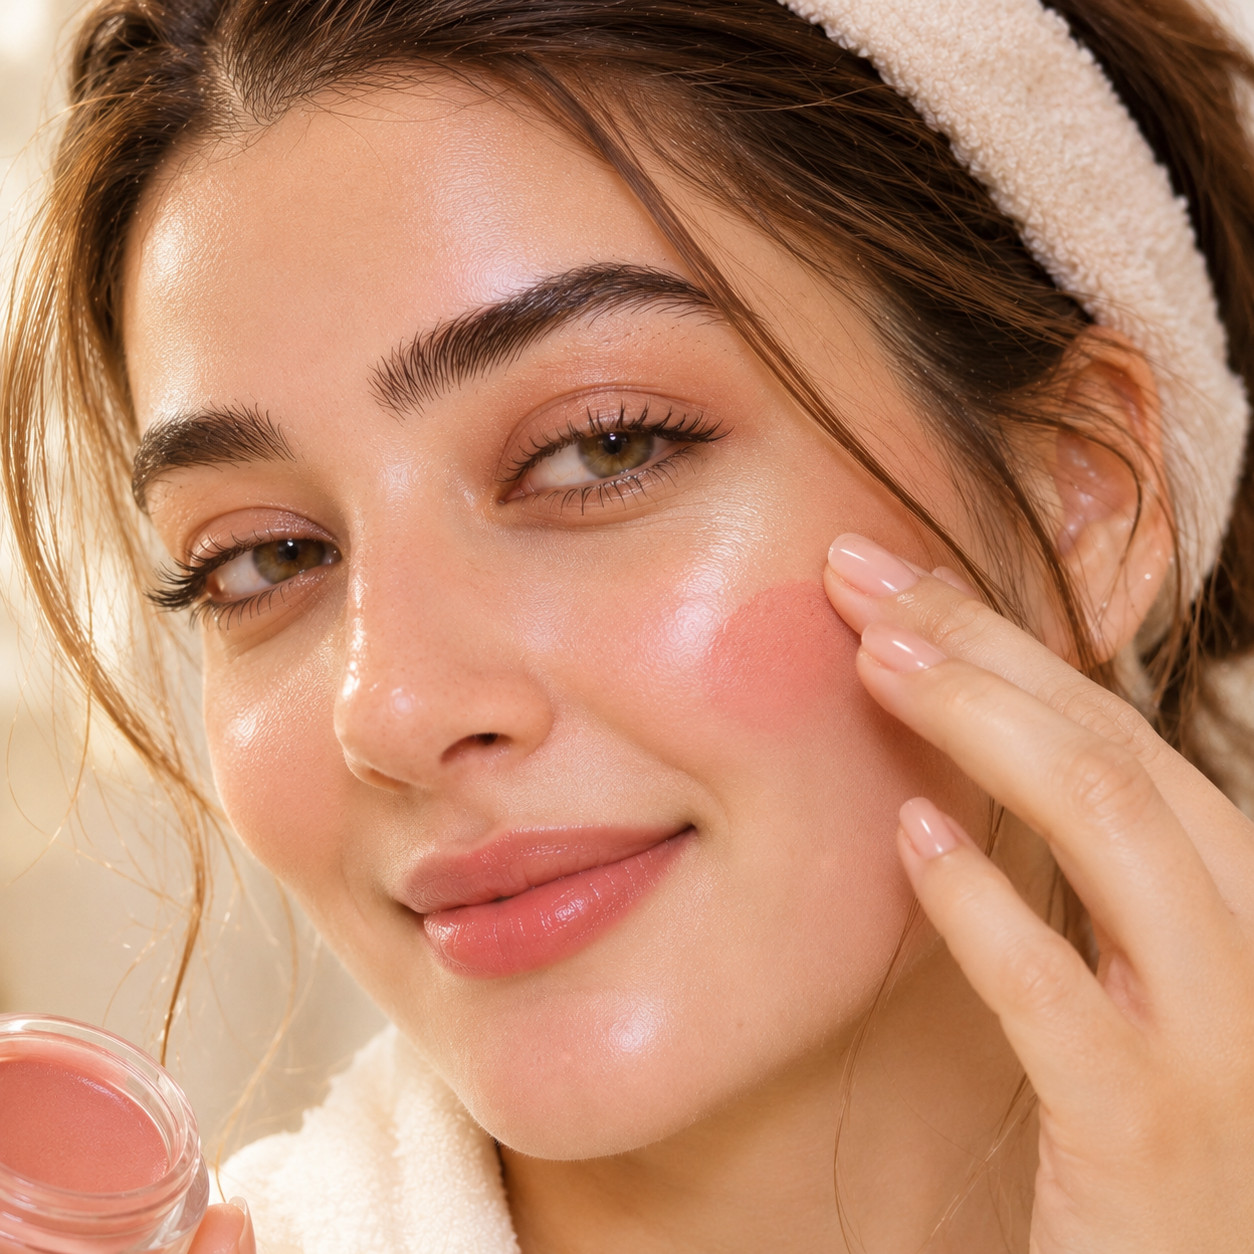
Smile, dot the cream blush on the round of your cheeks, and blend upward toward your temples with your fingertips. Cream blush melts into skin and is easy for beginners to control.
Build the color slowly. A soft flush looks like you just came in from a walk, while a heavy one reads as makeup.
7. Add Warmth and a Little Glow
Tap a small amount of cream bronzer on the temples and along the cheekbones, then blend it in. A little warmth stops the face from looking flat.
Add a soft highlighter to the high points of your cheekbones and the bridge of your nose. Use a small amount, since a natural glow comes from restraint.
8. Finish With Lips and Setting Spray
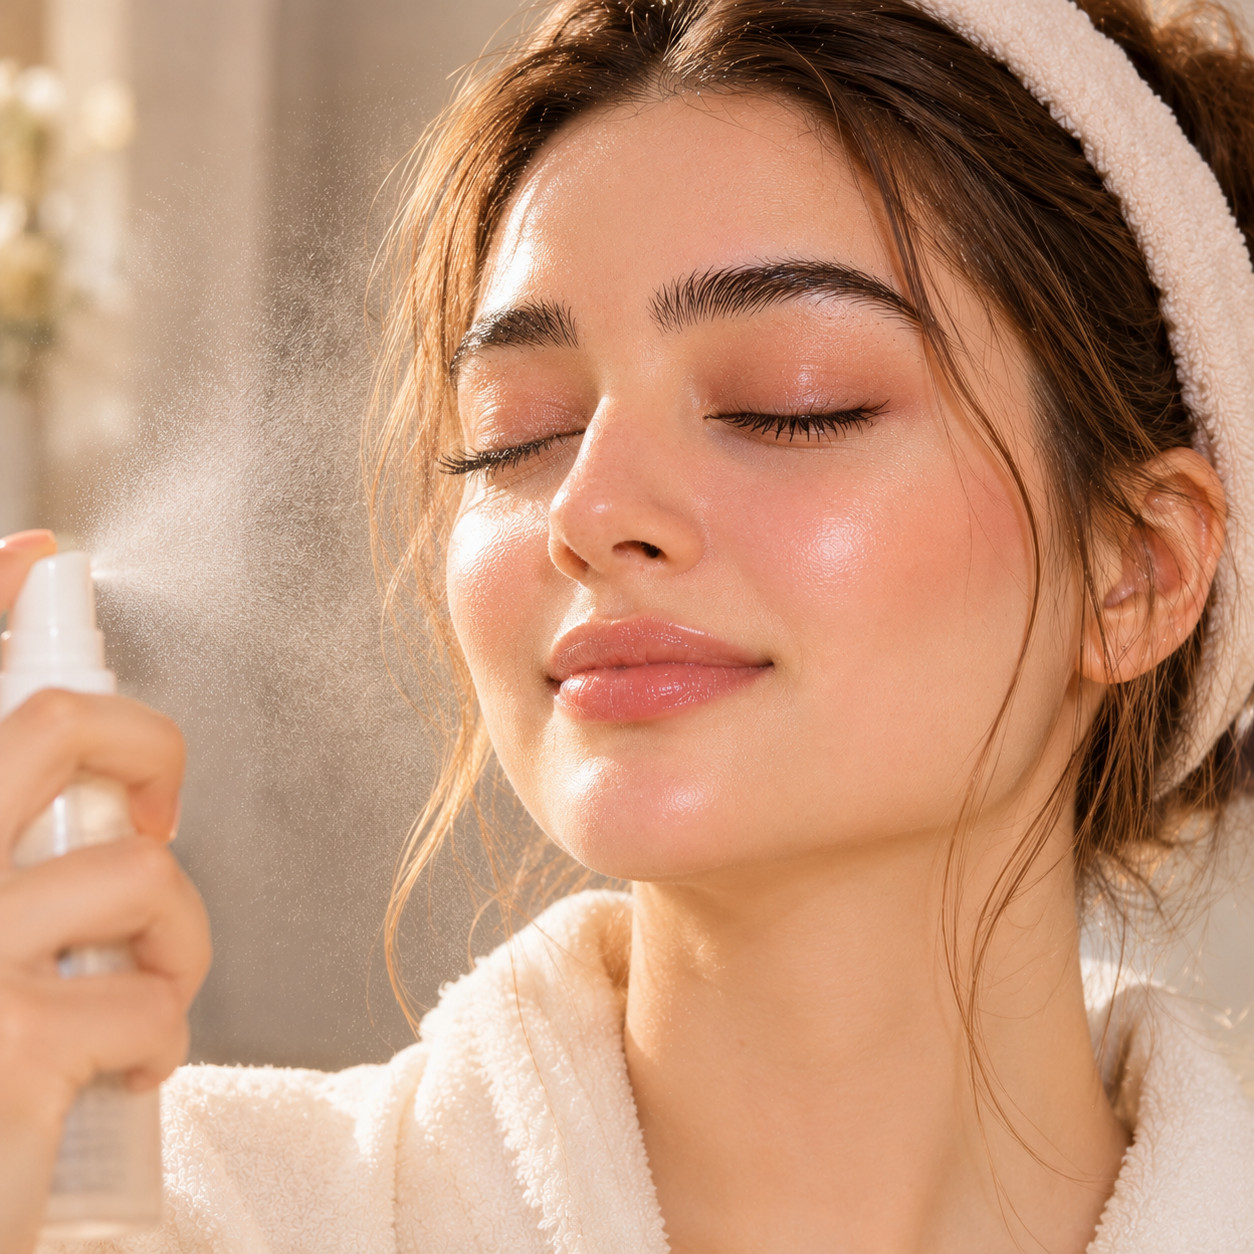
Apply a nude or rosy tinted balm. If you want more definition, line your lips with a pencil close to your natural color first.
Hold a setting spray at arm’s length and mist your face lightly with your eyes closed. Let it dry before touching your face, and your natural makeup look will hold up through the day.
Choosing Shades for a Natural Makeup Look
- Base: test the tint on your jawline in daylight. It should blend into your neck.
- Blush: fair skin suits soft pink or light peach, medium skin suits coral or rose, and deeper skin tones glow in berry, plum, or terracotta.
- Eyeshadow: warm beige and soft brown suit most skin tones and eye colors.
- Lips: pick a shade one or two steps deeper than your natural lip color.
Common Beginner Mistakes to Avoid
- Using too much base. Thin layers blend better and last longer.
- Picking the wrong base shade. Check it in daylight, not under a bathroom light.
- Skipping the blending. Visible edges on eyeshadow and blush are what make makeup look obvious.
- Powdering the whole face. It can flatten the skin and make it look dull.
- Adding too many products at once. Learn the eight steps first, then add extras.
How to Get Faster With Practice
- Keep your products in the order you use them, so you never search for anything.
- Do your makeup near a window where the light is natural.
- Use your fingers for cream products, since the warmth of your skin helps them blend.
- Practice on a weekend first, so the routine feels easy on a busy morning.
Putting It Together
A natural makeup look is a handful of light layers applied in the right order. Start with skin, keep color soft, and blend every edge, and you will have a routine you can repeat anywhere.
When you are ready for more polish, try our soft glam makeup for beginners guide or the soft brown glam makeup look. For a special day, see our bridal soft glam makeup tutorial, and for fall colors on brown eyes, our fall eyeshadow looks. You can also follow us on Pinterest for new ideas.
FAQs
What is the first step in a natural makeup look?
The first step is skincare: cleanse, moisturize, and apply sunscreen. Makeup sits better on hydrated skin.
Do I need foundation for a natural makeup look?
No. A skin tint or concealer on the spots you want to cover is usually enough, and it keeps the finish light.
How long does a natural makeup look take?
About 10 to 12 minutes while you are learning. It gets faster once you know the order.
What eyeshadow colors look natural?
Matte beige, taupe, and soft brown look natural on most people. Blend them well so no hard edges show.
How do I make natural makeup last all day?
Use a light base, cream products on the cheeks, powder only on the T-zone, and a setting spray at the end. Blot shine with a tissue instead of adding more powder.
Can I wear a natural makeup look every day?
Yes. It uses light layers and gentle shades, so it suits work, school, and weekends. Remove it at night and keep your sunscreen routine.